
|
Do it yourself
| |||
| ||||


How to replace the control arm of the Skoda Fabia III
Model: Skoda Fabia
Mark3, NJ
- Years 2014-2021
In this video we can see how to replace the control arm of the Skoda Fabia III: it will be necessary to lift the car and remove the front wheels: remove the fender from inside the wheel arch. On some engines it is necessary to move the additional water pump, which is however clearly visible on the right side; brush the rear bushing screw and spray WD-40, then unscrew the fixing screw; do the same with the front one. Brush the fixing nuts of the support joint, and apply WD-40, then remove the screws. Now we can remove the support joint from the control arm, which we can remove. Brush and grease the control arm housing well, so that it is easier to reassemble. Reassemble the arm, connecting the screws, then the front and rear ones. Finish tightening using a torque wrench: front and rear to 70Nm; support nuts to 40Nm; the arm head nut to 20 Nm. Reassemble the support joint; we can remove the jack and put the additional pump back in place, reassemble the fender and put the wheel back on.
Posted on 17 January 2025 by ScegliAuto
Video tutorial
Related tutorials
Skoda Fabia
(2007-2014 /
Mark2, 5J)
The following video tutorial shows us how to replace the windshield wiper blades of the Skoda Fabia model 2 on our own. We lift the wiper arm and pre…
Skoda Fabia
(1999-2007 /
6Y, Mark1)
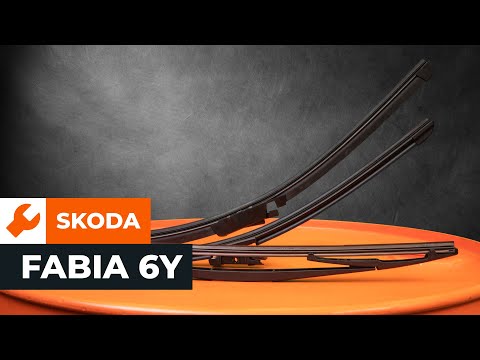
Learn how to replace the wiper blades on the windscreen of a Skoda Fabia SW. Grasp the front wiper blade with your hands, gently pull it as shown in …
Skoda Fabia
(1999-2007 /
6Y, Mark1)
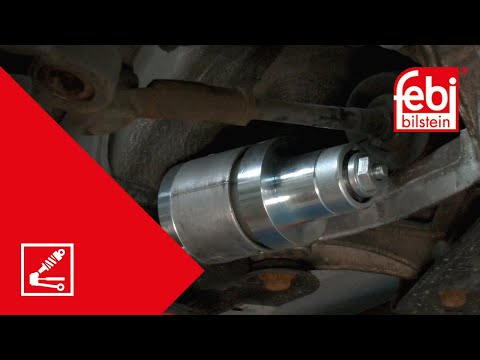
In this video, we see the instructions for removing the bush from the support arm and suspension on a Skoda Fabia; this procedure can be applied to m…
Other guides you may be interested in
|
How to Remove the Front Bumper of the Citroën C4 Picasso?
To remove the front bumper of the Citroën C4 Picasso, you need to take out all the rivets and screws that secure the piece to its housing: these screws are located inside the wheel arches of the front wheels and at the central upper part of the bumper itself. Once all these fastening elements have been removed, you can detach the bumper from its seat by disconnecting the connectors inside and then insert the new replacement part. The new part can then be secured and connected properly, ensuring it is correctly fixed in place. by ScegliAuto More videos
|

|
For advertising on this site Write to info@scegliauto.com
ScegliAuto is not responsible for any inaccuracy of the data in the lists. To report any inaccuracy or your business (if you own the business in question), please write to info@scegliauto.com
Number of seconds to generate the page: 0.093
(c) ScegliAuto 2026 - info@scegliauto.com - Privacy policy VAT number: IT01247470535 |
