Do it yourself
Frequently asked questions about cars and motorcycles

Location of the Fuse Box and Assignments on the Smart

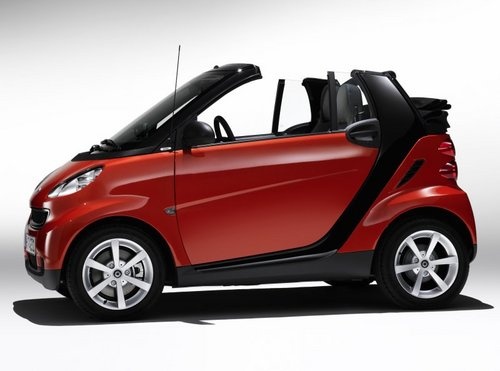
Model: Smart Smart 451 - Years: 2007, 2008, 2009, 2010, 2011, 2012, 2013, 2014, 2015
Part: Fuse box

See other generations:
Video tutorial

The fuse box on this vehicle is located directly under the dashboard on the left side of the steering wheel, above the pedal area. Below is a list of the main fuses present in the box: windscreen wiper motor fuse, electric window lift fuse, engine cooling fan fuse, left and right front fog light fuses, left and right rear position light fuses, rear number plate light fuse, engine control unit fuse, water pump fuse, ESP control unit fuse, air conditioning fuse, instrument cluster fuse, power steering fuse, radio fuse, internal electrical socket fuse, front headlight fuses, and rear wiper fuse.


Updated on 20 May 2026 by ScegliAuto


Related tutorials

Smart (2007-2015 / 451) In this guide, we will see where to find the diagram and location of the fuse boxes of the Smart Fortwo, following the instructions below. First, get…
Smart (2014-2022 / 453) The guide shows the layout of the fuse box and the specifications of the protection elements of the Smart ForTwo Electric Drive 453; inside the vehic…
Smart (1998-2007 / 450) Knowing the exact location of the fuse box in your Smart Fortwo Mk1 is important as it allows you to safely and effectively intervene on one or more …

Other guides you may be interested in

    Frequently Asked Questions

    • Smart 2007-2015 - Where is the fuel pump relay on a Smart ForTwo located? Read answer

How to Remove the Rear Seat of a Hyundai Tucson?

To remove the rear seat of a Hyundai Tucson, follow these steps. Start by moving the front seats to their most forward position to gain space. Next, locate the release lever on the underside of the rear seat, near the floor. Press this lever down while pulling the seat upwards to unlock it from the anchor pins. Once unlocked, tilt the seat upwards and forwards to remove it from its position. Repeat this process for both sides of the rear seat. Be careful of any electrical cables or components that may be connected to the seat during removal. Once the rear seat is removed, the disassembly is complete.

Watch the video!


by ScegliAuto

More videos