
|
Do it yourself
| |||
| ||||


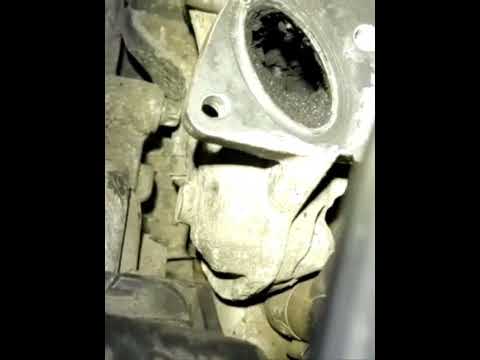
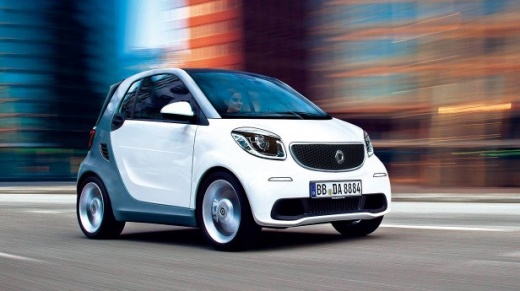
How to replace the starter motor on the 2014 Smart 453
Model: Smart Smart
453
- Years 2014-2022
In this video we will see the procedure to replace the starter motor of the 2014 Smart 453. The first thing to do is turn off the car, pull the handbrake and open the front hood. At this point, it is necessary to detach the oil vapor recovery pipe with the help of a lever. This piece will then be set aside. We then disassemble the tube that connects to the air filter and then the petrol tube. Next, we unplug the connectors, as shown in the video. The video shows us step by step how to remove all the other engine components, up to the replacement of the actual starter motor.
Posted on 18 August 2022 by ScegliAuto
Video tutorial
Related tutorials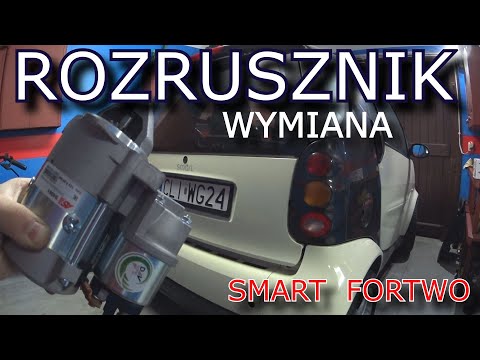
Smart
(1998-2007 /
450)
Replacing the starter motor of the Smart car is done by opening the trunk of the car and lifting the protective panel located at its base: under this…
Smart
(1998-2007 /
450)
The procedure for replacing the starter motor of the Smart car involves opening the trunk of the car and lifting the protective panel located at its …
Smart
(2007-2015 /
451)
Does the starter motor not work? Let's see how to remove the Smart Fortwo starter motor. We disconnect the battery terminals for safety. We lift the …
Other guides you may be interested in
|
Frequently Asked QuestionsHow to Remove the Front Headlight of a Mercedes S-Class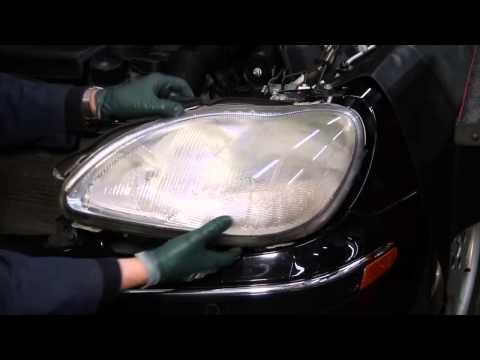
Want to remove the front headlight of a Mercedes S-Class? Let’s see how to proceed with the disassembly in the instructional video. Open the hood by pulling the hood release lever and secure it. Remove the retaining pins on the headlight bar using a socket wrench or battery-powered screwdriver. At this point, you will find additional pins on the lower side of the headlight; unscrew them from the metal brackets. Disconnect the bulb holders from the headlight and remove the headlight from the vehicle body. Install the new headlight with new bulbs if damaged (always use the correct type and size) and insert the headlight into its housing. Finally, tighten the pins on the headlight and test the proper functioning of the lights. by ScegliAuto More videos
|
For advertising on this site Write to info@scegliauto.com
ScegliAuto is not responsible for any inaccuracy of the data in the lists. To report any inaccuracy or your business (if you own the business in question), please write to info@scegliauto.com
Number of seconds to generate the page: 0.083
(c) ScegliAuto 2026 - info@scegliauto.com - Privacy policy VAT number: IT01247470535 |