
|
Do it yourself
| |||
| ||||


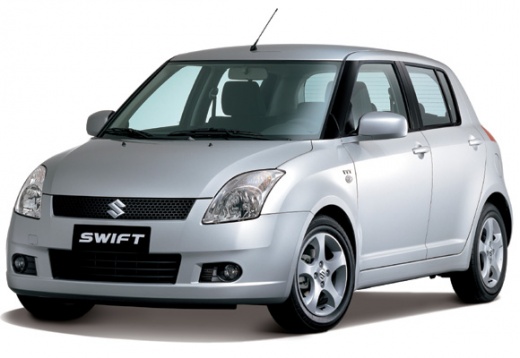
How to reset the tire pressure warning light on a Suzuki Swift?
Model: Suzuki Swift
MK 4, Rs41
- Years 2004-2010
To reset the tire pressure warning light on a Suzuki Swift, start by turning on the car without starting the engine. Look for the reset button, usually located on the dashboard or near the steering wheel. Make sure the car is in "reset" or "set" mode for tire pressure. Press and hold the reset button for a few seconds until the tire pressure warning light turns off. You may need to press the button multiple times to activate the reset mode. Once the light has turned off, the reset is successfully completed. Check the tire pressure to ensure they are properly inflated and there are no air leakage issues.
Posted on 13 December 2024 by ScegliAuto
Video tutorial
Related tutorials
Suzuki Swift
(2004-2010 /
MK 4, Rs41)
In order to reset the tire pressure warning light on the Suzuki Swift, you first need to inflate the tires to the correct pressure value: this value …

Suzuki Swift
(2017-2024 /
MK 6, A2L)
To reset the tire pressure warning light on the Suzuki Swift, you need to inflate the tires to the recommended pressure value: this value is indicate…

Suzuki Swift
(2017-2024 /
MK 6, A2L)
The tire pressure sensor of the Suzuki Swift can be reset by checking that all four tires are at the correct inflation pressure. Afterwards, you will…
Other guides you may be interested in
|
Frequently Asked QuestionsHow to Open the Bonnet on the Lancia Y
To open the bonnet on this vehicle, follow these simple instructions: first, open the driver's door and locate the lever positioned just below the dashboard, marked with an image of the vehicle with the bonnet open. Pull this lever towards you until you hear a "click" indicating the bonnet is released. Next, exit the cabin and stand in front of the bonnet to disengage the safety catch and complete the opening. To do this, slightly lift the bonnet, locate the yellow lever underneath, and pull it to the left to fully release and open the bonnet. by ScegliAuto More videos
|
|
For advertising on this site Write to info@scegliauto.com
ScegliAuto is not responsible for any inaccuracy of the data in the lists. To report any inaccuracy or your business (if you own the business in question), please write to info@scegliauto.com
Number of seconds to generate the page: 0.216
(c) ScegliAuto 2026 - info@scegliauto.com - Privacy policy VAT number: IT01247470535 |
