
|
Do it yourself
| |||
| ||||


Replacing the Brake Pads
Model: Suzuki Sx4
GY, MK 1, EY, RW
- Years 2006-2014
Loosen the wheel nuts and lift the vehicle, securing it safely. Unscrew the bolts and remove the wheel. Unscrew the two retaining screws of the caliper with an Allen key and remove it by taking off the two retaining springs. Check the wear condition of the retainers and the piston. Clean the entire braking assembly of any debris. Grease the fixing pins and reposition the piston, ensuring proper operation. Reposition the piston by turning it counterclockwise. Fit the new pads, paying attention to the direction of rotation and installing the one with contacts facing inwards. Carefully reassemble the caliper and springs. Ensure the pads are properly seated against the disc. Recheck the brake fluid level. Reset the piston position by pressing the brake pedal.
Updated on 6 February 2026 by ScegliAuto
Video tutorial
Related tutorials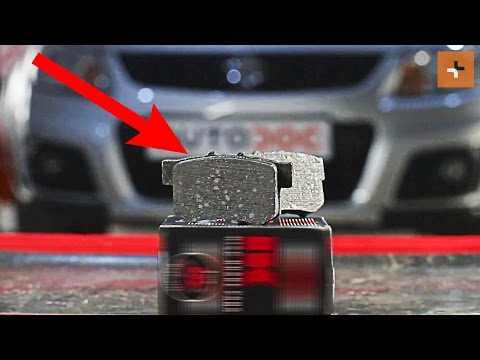
Suzuki Sx4
(2006-2014 /
GY, MK 1, EY, RW)
How to replace the rear brake pads? Let's see how to dismantle the brake pads of a Suzuki SX4. Lift the car on a column lift to the desired height, t…
Suzuki Sx4
(2006-2014 /
GY, MK 1, EY, RW)
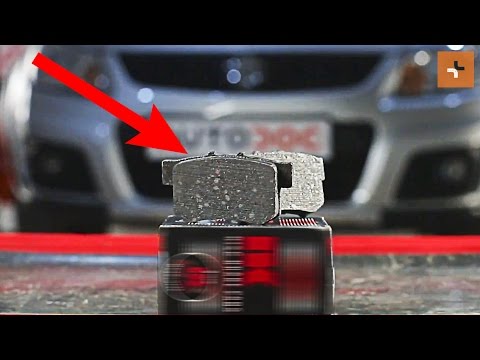
In this video tutorial, you will learn how to remove the rear brake pads from a Suzuki SX4. First, lift the vehicle with a jack and remove the rear w…
Suzuki Sx4
(2006-2014 /
GY, MK 1, EY, RW)
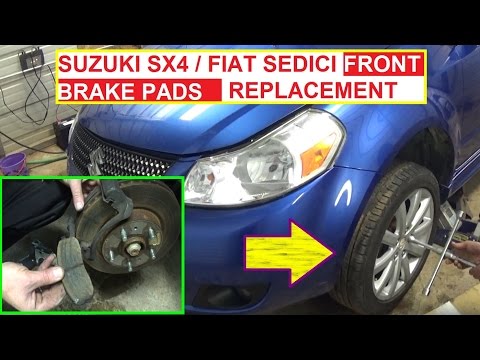
In this video, you will replace the front brake pads on a Suzuki 4x4. After securing the vehicle and positioning it on a jack, use a 14 mm socket to …
Other guides you may be interested in
|
How to Open the Bonnet on the Lancia Y
To open the bonnet on this vehicle, follow these simple instructions: first, open the driver's door and locate the lever positioned just below the dashboard, marked with an image of the vehicle with the bonnet open. Pull this lever towards you until you hear a "click" indicating the bonnet is released. Next, exit the cabin and stand in front of the bonnet to disengage the safety catch and complete the opening. To do this, slightly lift the bonnet, locate the yellow lever underneath, and pull it to the left to fully release and open the bonnet. by ScegliAuto More videos
|

|
For advertising on this site Write to info@scegliauto.com
ScegliAuto is not responsible for any inaccuracy of the data in the lists. To report any inaccuracy or your business (if you own the business in question), please write to info@scegliauto.com
Number of seconds to generate the page: 0.166
(c) ScegliAuto 2026 - info@scegliauto.com - Privacy policy VAT number: IT01247470535 |
