
|
Do it yourself
| |||
| ||||


How to Change the Brake Pads on a Toyota Auris
Model: Toyota Auris
E180
- Years 2012-2018
On the Toyota Auris, the job begins with the car raised and secured. After loosening and removing the front wheel, the brake caliper becomes accessible. The procedure shows the intervention on the caliper bolts: they are undone to open the caliper and move it away from the disc, without forcing the brake line. With the caliper open, the old pads are removed from their housing on the Toyota Auris. Before fitting the new parts, the piston is retracted using the appropriate tool to create the necessary space for the thickness of the new pads. This phase is clearly shown and done calmly, avoiding abrupt movements. At this point, the new pads are correctly positioned in the bracket on the Toyota Auris, respecting the orientation and seating. The caliper is then closed and the bolts refitted, completing the front brake assembly. Before refitting the wheel, a general visual check is shown in the video to ensure everything is aligned and properly tightened. With the mechanical part closed, the wheel is refitted on the Toyota Auris and the car is lowered. The job concludes with a final check of the correct positioning of the pads and the implicit advice to pump the brake pedal before setting off.
Posted on 19 August 2026 by ScegliAuto
Video tutorial
Related tutorials
Toyota Auris
(2018-2024 /
E210)
Today we will see how to change the license plate lights of a Toyota Auris, a model produced starting from the year 2018. This operation is not very …

Toyota Auris
(2012-2018 /
E180)
In this short and simple guide, we will discover the information related to changing the time on the Toyota Auris. First of all, we get on board the …
Toyota Auris
(2007-2012 /
E150)
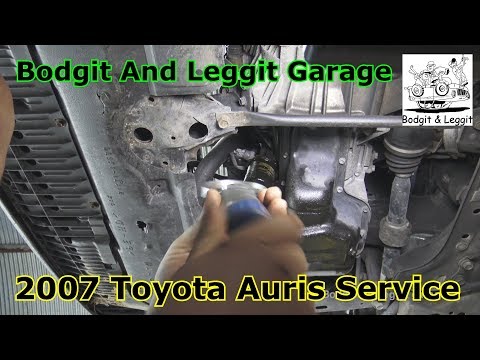
In this video, learn how to change the engine oil filter on a Toyota Auris. First, lift the car on a column lift or jack and use a strap wrench to un…
Other guides you may be interested in
|
How to Reset the Tyre Pressure Light on the Opel Grandland X
While driving, if you notice the tyre pressure warning light coming on, first check the actual inflation pressure of the tyres and, if necessary, restore the pressures recommended by the manufacturer. After restoring the correct pressures, you need to reset the warning light that has illuminated on the instrument cluster. To do this, locate the reset button on the lower central console. Press this button and hold it down for at least 3 seconds, after which the low pressure indication will turn off. by ScegliAuto More videos
|

|
For advertising on this site Write to info@scegliauto.com
ScegliAuto is not responsible for any inaccuracy of the data in the lists. To report any inaccuracy or your business (if you own the business in question), please write to info@scegliauto.com
Number of seconds to generate the page: 0.090
(c) ScegliAuto 2026 - info@scegliauto.com - Privacy policy VAT number: IT01247470535 |
