
|
Do it yourself
| |||
| ||||


How to Replace the Rear Brake Pads on a Toyota RAV4
Model: Toyota Rav 4
MK 3, Xa30
- Years 2006-2013
Replacing the rear brake pads on a Toyota RAV4 requires specific tools and mechanical knowledge. It is advisable to read the description and consult the video before proceeding with disassembly. First, remove the cap from the brake fluid reservoir located in the engine bay. Only then can you proceed to remove the first wheel, which should be done after lifting the car on a ramp or with a jack. Once the first wheel is removed, you will have access to the brake caliper. On the outer part of the caliper, there will be a hole where the top part of the pads is visible. This will serve as access to insert a lever and detach the pads from the disc. Once there is sufficient space between the disc and the pads, proceed by unscrewing the two pins located behind the caliper. This will detach the upper part of the caliper, allowing access to the old pads, which can then be removed. Inside the disassembled part, the piston will be visible within the caliper. This must be retracted using a brake piston retractor specifically designed for this purpose. If this tool is not available, you can use makeshift levers, taking care not to damage the contacting parts. It is also advisable to lubricate the piston with spray before proceeding and take the opportunity to clean all affected parts thoroughly before reassembly. Once the piston is back in place within the caliper, install the new pads. Before inserting them, treat the contact parts with copper grease or specific products, ensuring not to contaminate the friction material. Once the new pads are positioned in the fixed part of the caliper, proceed to reassemble everything in the reverse order of disassembly, and then repeat the same operation on the opposite side of the car. Finally, remember to replace the cap on the brake fluid reservoir after completing the work and test the brakes safely before venturing onto the road.
Updated on 17 March 2026 by ScegliAuto
Video tutorial
Related tutorials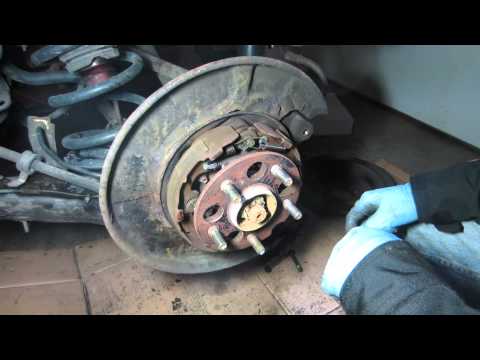
Toyota Rav 4
(2000-2006 /
Xa20, MK 2)
Remove the worn brake pads on a Toyota Rav 4. Lift the car on a jack to the desired height, then remove the wheel (using a socket wrench or air impac…
Toyota Rav 4
(2013-2018 /
MK 4, Xa40)
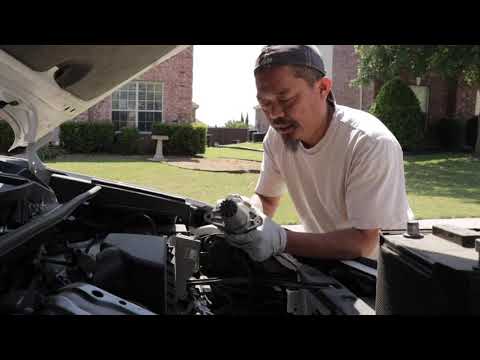
Before starting, open the bonnet of your Toyota Rav 4. Begin by removing the battery, followed by the battery support base. This will give you access…
Toyota Rav 4
(2019-2026 /
Xa50, MK 5)
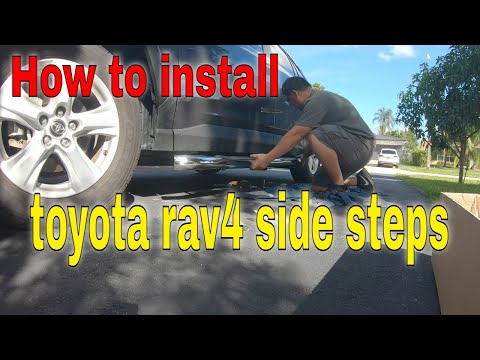
In this brief and simple guide, follow the steps to install the side bars on the Toyota Rav 4. First, lift the vehicle and remove the plastic clips f…
Other guides you may be interested in
|
How to Replace the Battery on a Honda Vision 110
To replace the battery on a Honda Vision 110, you need to remove the front fairing of the motorcycle, located directly under the front headlamp. To loosen this panel, unscrew the two screws found at its top, just below the handlebar. Once these screws are loosened, lever under the panel to detach it, gaining access to the battery underneath: this battery must be removed from its housing by unscrewing the fixing screws and disconnecting the power cables, replacing it with a new one. by ScegliAuto More videos
|

|
For advertising on this site Write to info@scegliauto.com
ScegliAuto is not responsible for any inaccuracy of the data in the lists. To report any inaccuracy or your business (if you own the business in question), please write to info@scegliauto.com
Number of seconds to generate the page: 0.232
(c) ScegliAuto 2026 - info@scegliauto.com - Privacy policy VAT number: IT01247470535 |
