
|
Do it yourself
| |||
| ||||


Check Engine Oil Level and Top-Up
Model: Toyota Avensis
MK 1, T220
- Years 1997-2003
It is very important to periodically check the engine oil level, especially to ascertain if there are any issues related to its consumption. All engines are equipped with a dipstick that allows you to check the state of the engine oil level (some car models also have a sensor that displays the engine oil level on the instrument cluster, generally at startup). At the end of the dipstick, there is indeed a level indicator between MIN (minimum) and MAX (maximum), and it is absolutely important that the level is always between these two limits, never below or above. To check the level, simply pull out the dipstick, clean the end, insert it back in fully, and pull it out to see how far it is soiled with oil. It is preferable to perform this check when cold, as you can be sure that there is no oil still circulating and that it has all settled in the sump; when the engine is hot, it is absolutely necessary to wait about 10-15 minutes to allow all circulating oil to flow into the sump. Between the minimum and maximum levels, there is approximately one litre of oil. If you perform a top-up, wait for the oil to flow into the sump before repeating the check.
Updated on 14 February 2026 by ScegliAuto
This video is currently unavailable
Related tutorials
Toyota Avensis
(2009-2018 /
T270, MK 3)
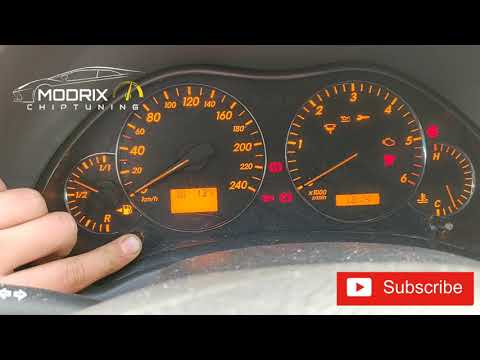
To manually reset the engine oil light on your 2013 Toyota Avensis, simply follow these steps. First, make sure you have correctly changed the engine…
Toyota Avensis
(2003-2008 /
T250, MK 2)
In this tutorial, you will see how to reset the oil service light on the Toyota Avensis, a very simple and quick operation to be carried out only aft…

Toyota Avensis
(2003-2008 /
T250, MK 2)
Today we will see the process of resetting the regular maintenance reminder for the engine oil change of the Toyota Avensis. First of all, we get int…
Other guides you may be interested in
|
How to Replace the Battery on a Honda Vision 110
To replace the battery on a Honda Vision 110, you need to remove the front fairing of the motorcycle, located directly under the front headlamp. To loosen this panel, unscrew the two screws found at its top, just below the handlebar. Once these screws are loosened, lever under the panel to detach it, gaining access to the battery underneath: this battery must be removed from its housing by unscrewing the fixing screws and disconnecting the power cables, replacing it with a new one. by ScegliAuto More videos
|
|
For advertising on this site Write to info@scegliauto.com
ScegliAuto is not responsible for any inaccuracy of the data in the lists. To report any inaccuracy or your business (if you own the business in question), please write to info@scegliauto.com
Number of seconds to generate the page: 0.206
(c) ScegliAuto 2026 - info@scegliauto.com - Privacy policy VAT number: IT01247470535 |
