
|
Do it yourself
| |||
| ||||


How to Connect the Dash Cam Wiring Kit
Model: (Various brands) Various
Learn how to connect the permanent wiring kit of a dash cam so that it operates normally when the engine is running; it enters parking mode (recording with motion detection) even when the engine is off, without draining the car battery. The standard kit has three wires: the red wire must take power from a circuit that only activates with the key inserted (like the cigarette lighter); the yellow wire must take power from a circuit that is always active even when the car is off and locked (like the radio memory or central locking). The black wire must be connected to an unpainted metal screw fixed to the car's body. Before working on the fuse box, always disconnect the battery and identify the fuses you need: for the red wire, choose the cigarette lighter (absolutely avoid critical circuits like ABS, engine control unit, braking system). For the yellow wire, look for "radio memory" for example. Use piggyback adapters, which allow you to draw power from an existing fuse without losing the original protection; be careful with the orientation, as the adapter must be connected to the opposite side from the side of the fuse box that is under voltage; getting the orientation wrong can bypass the fuse protection. Connect the black wire to an unpainted screw on the body, hide the cables, and reconnect the battery.
Posted on 8 August 2026 by ScegliAuto
Video tutorial
Related tutorials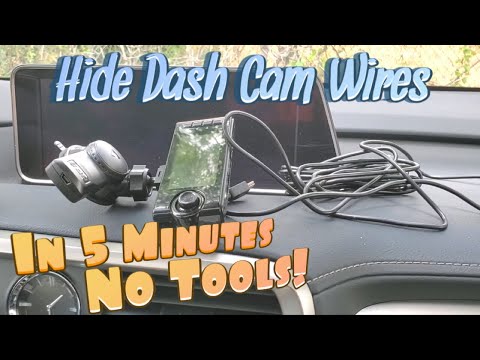
(Various brands) Various
In this video, learn how to install a dash cam without showing any wires, completely hiding them and without tools. After applying the dash cam in th…

(Various brands) Various
This video highlights a crucial detail for safety that many overlook when installing a dash cam: the cables are often installed by simply wedging the…

(Various brands) Various
Installing dash cam wires behind the airbags is dangerous, but unfortunately, it is a common mistake. A cable positioned in front of the side airbag …
Other guides you may be interested in
|
Frequently Asked QuestionsWhere is the Fuel Filter Located in a Volvo XC60?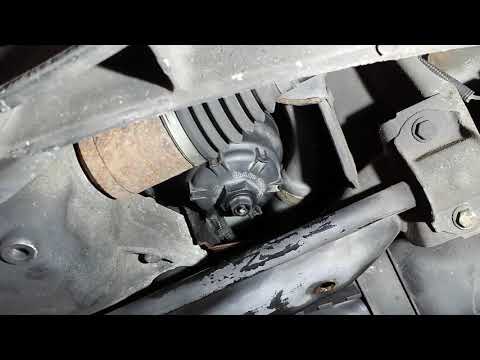
In this video, you will see where the fuel filter is located in a Volvo XC60 and how to proceed if you need to replace it. As shown, the filter is positioned at the lower part of the engine, right between the left half-shaft and the sway bar attachment. To replace the filter, first, go underneath the vehicle, taking all necessary safety precautions. Then, using an 18mm wrench, open the drain valve and allow any water present to escape. Next, unscrew the housing, remove the old filter, insert the replacement along with a new gasket, and reassemble everything. by ScegliAuto More videos
|
|
For advertising on this site Write to info@scegliauto.com
ScegliAuto is not responsible for any inaccuracy of the data in the lists. To report any inaccuracy or your business (if you own the business in question), please write to info@scegliauto.com
Number of seconds to generate the page: 0.507
(c) ScegliAuto 2026 - info@scegliauto.com - Privacy policy VAT number: IT01247470535 |
