
|
Do it yourself
| |||
| ||||


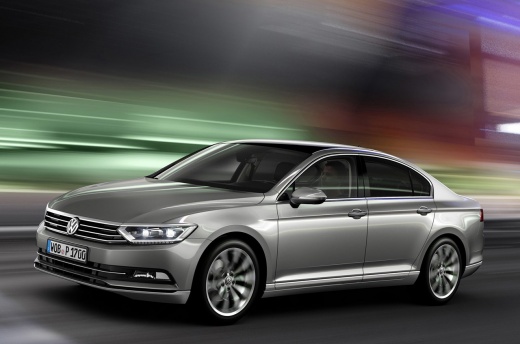
How to remove the front headlamp of a Volkswagen Passat?
Model: Volkswagen Passat
MK 8, 3G, B8
- Years:
2014, 2015, 2016, 2017, 2018, 2019, 2020, 2021, 2022, 2023
Video tutorial
To remove the front headlamp of a Volkswagen Passat, the first step is to remove the front grille. To do this, open the bonnet and locate the screws securing the grille above the headlamp. Use a screwdriver or the correct spanner to carefully remove them. Once the screws are removed, grasp the grille and gently pull it outward to disengage it from the supports. After removing the front grille, locate the screws or bolts securing the headlamp. These are usually found around the perimeter of the headlamp or inside the engine bay. Use the appropriate tools to remove them. Once all screws or bolts are removed, firmly grasp the headlamp and gently pull it outward to disengage it from the supports. Be careful of any electrical connectors that may be attached to the headlamp. Disconnect them carefully to avoid damaging the wires. Once the headlamp is removed, you can carry out any necessary repairs or replacements.
Updated on 10 November 2026 by ScegliAuto
Related tutorials
Volkswagen Passat
(2010-2014 /
B7)
Today we will discover the main steps that will allow us to disassemble and replace the headlight bulb of the Volkswagen Passat. First, we open the h…

Volkswagen Passat
(2005-2010 /
B6, 3C)
In this video, we will go through the steps necessary to remove and replace the front headlamp of a Volkswagen Passat B6. First, open the bonnet and …

Volkswagen Passat
(1996-2005 /
3BG, B5)
This procedure shows how to remove and replace the dipped and main beam bulbs of the front headlight on the Volkswagen Passat. First, open the bonnet…
ScegliAuto offers an extensive international collection of automotive tutorials available in 12 languages. Each guide combines instructional videos with original explanations written by experienced human editors, along with information about the car models covered.
Other guides you may be interested in
|
How to Reset the Tyre Warning Light on the Hyundai I10
The tyre warning light on the instrument panel of your Hyundai I10 (third series) alerts you when there is a puncture or when the tyres are inflated to the wrong pressure. If it lights up accidentally, you can reset it manually by following these steps. Once the instrument panel is on, press the directional button located on the right side of the steering wheel and find the tyre pressure display screen. Finally, press and hold the "OK" button for a few seconds and select the "Set" option to complete the reset of the light. by ScegliAuto More videos
|
|
For advertising on this site Write to info@scegliauto.com
ScegliAuto is not responsible for any inaccuracy of the data in the lists. To report any inaccuracy or your business (if you own the business in question), please write to info@scegliauto.com
Number of seconds to generate the page: 0.020
(c) ScegliAuto 2026 - info@scegliauto.com - Privacy policy - About us VAT number: IT01247470535 |
