
|
Do it yourself
| |||
| ||||


Front Brake Disc Replacement
Model: Volkswagen Golf
Golf IV, MK 4, Golf 4
- Years 1997-2003
Lift the vehicle on a hydraulic lift and remove the wheel on which you need to work. Remove the plastic protective caps from the brake caliper mounting bolts and use a 6 mm hex key to loosen the bolts. Using a medium-sized flat screwdriver, pry between the brake pad and the piston to retract the piston and create enough clearance to remove the caliper. Using a star screwdriver (it is advisable to use a impact screwdriver), unscrew the screw securing the brake disc to the hub and remove the disc (some hammering may be required). Clean the hub with a wire brush or sandpaper to remove any oxidation and apply grease to prevent new oxidation from forming. Then, mount the new disc onto the hub, aligning the screw hole of the previously removed screw and carefully tightening that screw. Before refitting the brake caliper, it is advisable to also replace the brake pads; finally, reattach the brake caliper by tightening the two mounting bolts and reapply the protective caps and then the wheel. Pump the brake pedal until it provides the correct resistance to push the piston back to its limit and pay attention during the first braking.
Updated on 3 February 2026 by ScegliAuto
Video tutorial
Related tutorials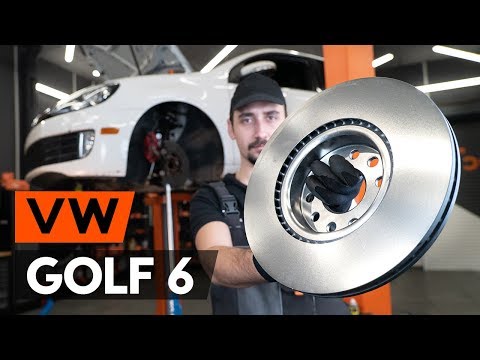
Volkswagen Golf
(2008-2012 /
MK 6, Golf VI, Golf 6, 5K1)
Before starting, engage first gear and activate the handbrake of your Volkswagen Golf, then lift the front end. Begin by unscrewing and removing the …
Volkswagen Golf
(2008-2012 /
MK 6, Golf VI, Golf 6, 5K1)
Before you can begin, lift the front end of your Volkswagen Golf. Start by unscrewing and removing the bolts that secure the wheel to the hub, then r…
Volkswagen Golf
(2003-2008 /
MK 5, Golf 5, Golf V)
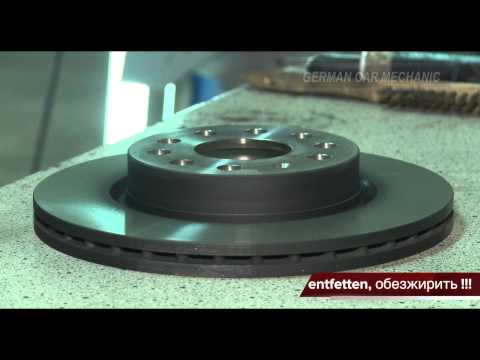
Lift the vehicle on a lift and remove the front wheel; disconnect the wear sensor connector, remove the protective cap from the caliper fastening bol…
Other guides you may be interested in
|
How to Replace the Cabin Filter on the Opel Grandland X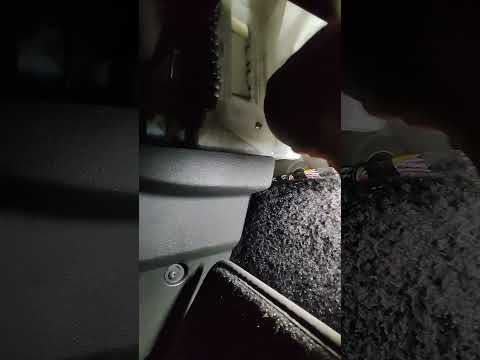
If you own an Opel Grandland X and want to know the steps to replace the cabin air filter, carefully read the following guide and follow the described steps. First, enter the vehicle and go to the passenger side. Then, locate the box containing the air filter in the lower side area of the dashboard. Remove the cover of the box and finally replace the old filter with the new one. Refit the cover, and you are done. by ScegliAuto More videos
|
|
For advertising on this site Write to info@scegliauto.com
ScegliAuto is not responsible for any inaccuracy of the data in the lists. To report any inaccuracy or your business (if you own the business in question), please write to info@scegliauto.com
Number of seconds to generate the page: 0.140
(c) ScegliAuto 2026 - info@scegliauto.com - Privacy policy VAT number: IT01247470535 |
