
|
Do it yourself
| |||
| ||||


How to change the battery on a Volkswagen Sharan 2.0 TDI
Model: Volkswagen Sharan
7N, MK 2
- Years 2010-2023
Let's see how to change the battery of the Volkswagen Sharan 2.0 TDI. If we do not have a voltage maintainer, we must be prepared to reset the configuration of the electric windows, clock, and radio stations after the change. Access to the battery is hidden under the engine compartment on the passenger side; we need to remove the black plastic panel under the windshield, unlock the air duct that leads to the intake, disconnect the MAF sensor connector, remove the rubber hose from the throttle body, and reach the battery. We remove the positive terminal cover, disconnect the terminals starting with the negative one, remove the fastening clamps, and extract the battery, which will need to be coded using an OBD2 tool to inform the car of the type of battery installed. We position the battery and secure it with the fastening clamps, connect the terminals starting with the positive one, replace the terminal cover, reattach the air duct, and put back the panel under the windshield. If we used a voltage maintainer, we can disconnect it.
Posted on 11 December 2025 by ScegliAuto
Video tutorial
Related tutorials
Volkswagen Sharan
(2010-2023 /
7N, MK 2)
This guide provides instructions for removing and replacing the diesel filter in the Volkswagen Sharan 2.0 TDI. First, open the bonnet of the vehicle…
Volkswagen Sharan
(1995-2010 /
MK 1, 7M)
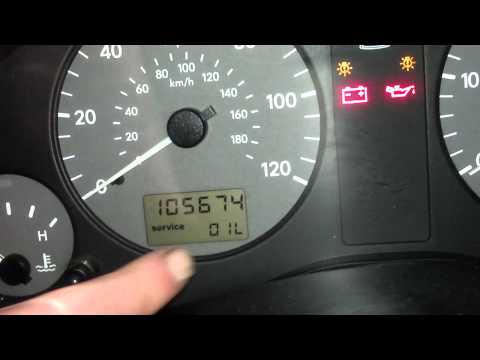
In this video tutorial, you will see how to reset the service light for the routine maintenance oil change on a first-generation Volkswagen Sharan TD…

Volkswagen Sharan
(1995-2010 /
MK 1, 7M)
If you are looking for the fuse box located inside your first-generation Volkswagen Sharan, then this guide is all you need. All you have to do is ca…
Other guides you may be interested in
|
How to change the time on a Toyota Yaris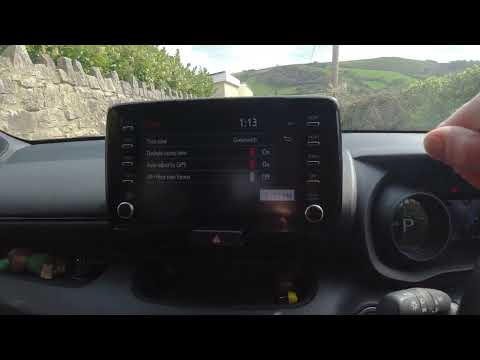
In this video we see how to change the time on a Toyota Yaris, specifically when it comes to switching from daylight saving time to standard time and vice versa. We go to the multifunction screen and press "settings": from there we go to press the clock, simply click on daylight saving time, and the clock will change the time for us, without doing anything else. All we want to do is just adjust the time format to 12 or 24 hours, as is customary in the area where we live: for example in Anglo-Saxon countries it is common to set the time to 12 hours, while in the European Union it is normally set to 24 hours. by ScegliAuto More videos
|

|
For advertising on this site Write to info@scegliauto.com
ScegliAuto is not responsible for any inaccuracy of the data in the lists. To report any inaccuracy or your business (if you own the business in question), please write to info@scegliauto.com
Number of seconds to generate the page: 0.237
(c) ScegliAuto 2026 - info@scegliauto.com - Privacy policy VAT number: IT01247470535 |
