
|
Do it yourself
| |||
| ||||


Volkswagen Jetta - Video tutorial
Model: Volkswagen Jetta
MK 5, A5
- Years 2005-2010 In order to proceed with the disassembly of the intake manifold, first remove the plastic cover on the engine and the air filter container. At this point it is possible to start disassembling the manifold by removing all the fixing screws, including the wiring support brackets; in order to unscrew some of these screws, it is also necessary to remove the oil filter: once the screws in question have been removed, it is advisable to reposition the filter to prevent something from ending up inside. Once the manifold has been disassembled, remove the deflectors from the intake ports and remove the carbon residues using a metal brush and then washing and vacuuming the dirt to prevent it from ending up in the valve seats. Then also brush the deflectors, wash them and reassemble them. Replace the injector seals and reassemble the intake manifold in reverse order.
Posted on 19 July 2023 by ScegliAuto
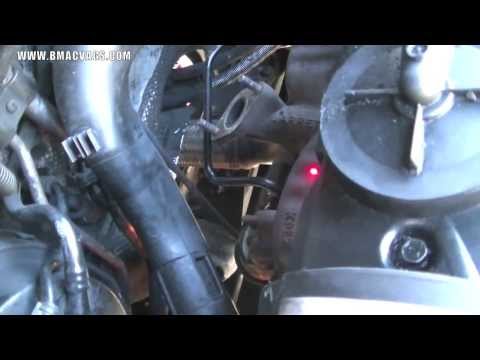 Turbocharger disassembly instructions
Volkswagen Jetta (1998-2005 / MK 4, A4) First of all, it is suggested to carry out this operation with a cold engine since it will have to be handled at the exhaust manifold where the turbo 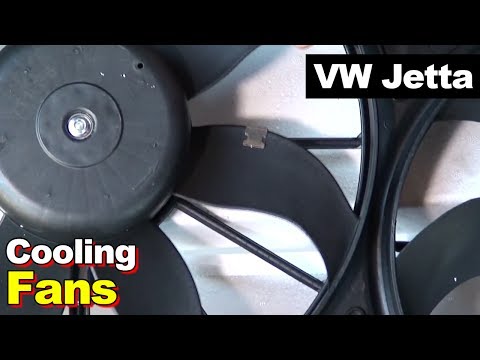 Air Conditioning Fan Replacement
Volkswagen Jetta (2010-2018 / A6, MK 6) Raise the hood and go to remove the bolts that block the air intake vent on the heat exchanger, consequently also go to remove the bolts that block t 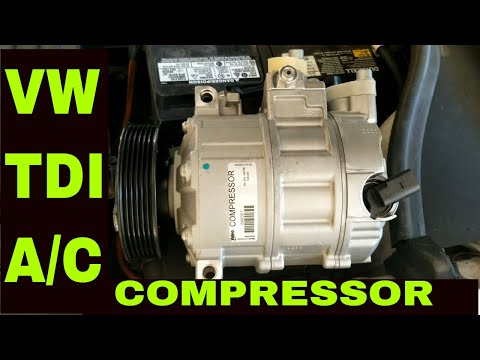 How to replace the air conditioning compressor of the Volkswagen Jetta TDI
Volkswagen Jetta (2005-2010 / MK 5, A5) Today we will see the main instructions that will allow us to disassemble and replace the air conditioning compressor of the Volkswagen Jetta, with T Other guides that may interest you
|
How do I replace the Land Rover Evoque auxiliary battery?
In order to replace the auxiliary battery of the Land Rover Evoque, it is necessary to go inside the passenger compartment and remove the panel which is positioned immediately under the glovebox. Once the screws that secure this panel have been loosened, it will be possible to access the components located in its rear part, including the auxiliary battery. The latter must be disconnected from its cables and the fixing screws must be loosened. The battery can then be replaced with a new one and the panel can be fixed again with its screws. by ScegliAuto More videos
|
|
For advertising on this site Write to info@scegliauto.com
ScegliAuto is not responsible for any inaccuracy of the data in the lists. To report any inaccuracy or your business (if you own the business in question), please write to info@scegliauto.com
Number of seconds to generate the page: 0.058
(c) ScegliAuto 2024 - info@scegliauto.com - Privacy Policy VAT number: IT01247470535 |