
|
Do it yourself
| |||
| ||||


Procedure to Install the GTA Kit
Model: Volkswagen Jetta
A4, MK 4
- Years:
1998, 1999, 2000, 2001, 2002, 2003, 2004, 2005
Video tutorial
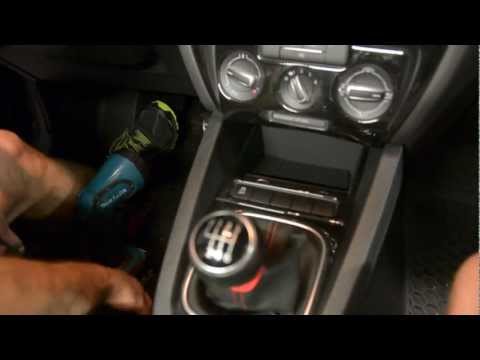
In the following tutorial, the GTA kit is installed on a Volkswagen Jetta. To carry out this procedure, you need to extract the factory radio unit. Special keys exist for this, but they can sometimes be difficult to find and can be quite expensive; the video creator made the keys by cutting them from old credit cards. Once the four keys are made, position them at the four corners of the front panel, extract the unit (also with the aid of a small lever) and then disconnect the electrical connections and the antenna cable. The kit has two looped cables that will be mounted to two screws on the back of the unit: the larger loop will be inserted (after unscrewing it first) into the larger screw located to the right of the radio and the smaller loop into the smaller screw on the left. The other part of the kit's connection will be attached to the electrical connection of the unit. It must be connected to the left section; you will hear a "click" when the connection is made. After connecting the electrical connection, reconnect the antenna cable. The kit is now installed.
Updated on 10 February 2026 by ScegliAuto
Related tutorials
Volkswagen Jetta
(2005-2010 /
MK 5, A5)
To install this accessory, it is necessary to disassemble the car radio: first, detach the grille located at the centre of the dashboard, remove the …

Volkswagen Jetta
(1998-2005 /
A4, MK 4)
In this guide, we will see the main instructions for disassembling and replacing the timing belt of the Volkswagen Jetta 1.9 TDI; the service manual …
Volkswagen Jetta
(2010-2018 /
MK 6, A6)
Unfortunately, Volkswagen did not equip the vehicle with a button to activate and deactivate the traction control system (TCS). Fortunately, the vehi…
Other guides you may be interested in
|
How to Remove the Rear Seat of a Hyundai Tucson?
To remove the rear seat of a Hyundai Tucson, follow these steps. Start by moving the front seats to their most forward position to gain space. Next, locate the release lever on the underside of the rear seat, near the floor. Press this lever down while pulling the seat upwards to unlock it from the anchor pins. Once unlocked, tilt the seat upwards and forwards to remove it from its position. Repeat this process for both sides of the rear seat. Be careful of any electrical cables or components that may be connected to the seat during removal. Once the rear seat is removed, the disassembly is complete. by ScegliAuto More videos
|
|
For advertising on this site Write to info@scegliauto.com
ScegliAuto is not responsible for any inaccuracy of the data in the lists. To report any inaccuracy or your business (if you own the business in question), please write to info@scegliauto.com
Number of seconds to generate the page: 0.071
(c) ScegliAuto 2026 - info@scegliauto.com - Privacy policy VAT number: IT01247470535 |
