
|
Do it yourself
| |||
| ||||


Glove Box Door Repair Kit
Model: Volkswagen Golf
Golf IV, Golf 4, MK 4
- Years:
1997, 1998, 1999, 2000, 2001, 2002, 2003
Video tutorial
The glove box of many Volkswagen models has various faults: from a broken opening handle to damaged hinges or side guide rails. There are affordable and easy-to-install repair kits available that consist of metal replacements for the damaged plastic components. Once you have removed the entire glove box from the dashboard, detach the door and begin installing the hinge: it is very simple to determine the installation position and secure it with self-tapping screws; then insert the door back into its place and align the new metal side guides to be fixed to the door also with self-tapping screws. It may be useful to use an electric screwdriver with an extension for the insert rather than a manual screwdriver.
Updated on 14 February 2026 by ScegliAuto
Related tutorials
Volkswagen Golf
(2003-2008 /
Golf 5, MK 5, Golf V)
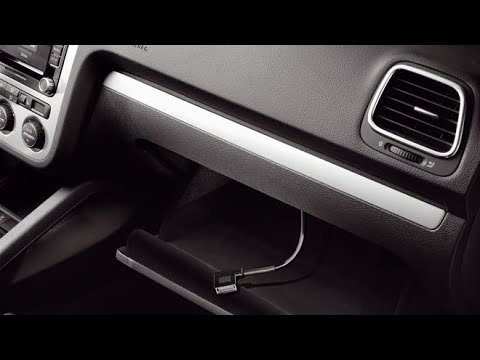
A simple and quick operation that will save you time and money. Just follow this brief guide to replace it without needing a mechanic. Open the passe…
Volkswagen Golf
(2008-2012 /
Golf 6, MK 6, 5K1, Golf VI)
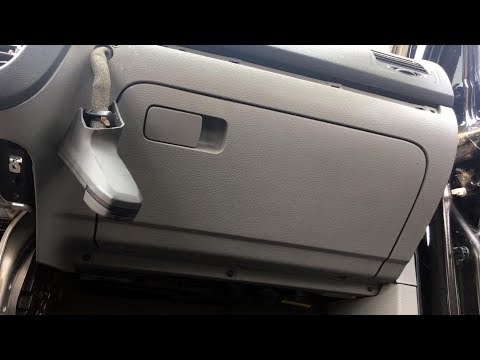
In this video tutorial, you will see how to remove the glove box of a sixth-generation Volkswagen Golf, following the simple steps outlined below. Fi…
Volkswagen Golf
(2003-2008 /
Golf 5, MK 5, Golf V)
In this video, see how to remove the glove compartment from a fifth-generation Volkswagen Golf. First, get inside the car and use a plastic lever to …
Other guides you may be interested in
|
How to reset the tyre pressure warning light on the Kia Niro EV?
To reset the tyre pressure warning light on the Kia Niro EV, inflate the tyres until they reach the correct pressure value. This value is indicated on the sticker attached to the driver's door pillar. Once the tyres are inflated, turn on the instrument cluster to check that the warning light has completely disappeared from the display. If it is still present, you may need to drive for a few miles to ensure it disappears completely from the screen. by ScegliAuto More videos
|
|
For advertising on this site Write to info@scegliauto.com
ScegliAuto is not responsible for any inaccuracy of the data in the lists. To report any inaccuracy or your business (if you own the business in question), please write to info@scegliauto.com
Number of seconds to generate the page: 0.024
(c) ScegliAuto 2026 - info@scegliauto.com - Privacy policy VAT number: IT01247470535 |
