
|
Do it yourself
| |||
| ||||


Volkswagen Golf - Video tutorial
Model: Volkswagen Golf
Golf VII, Golf 7, MK 7
- Years 2012-2019 In this short and simple guide we will see how to disassemble and replace the coolant temperature sensor of the Volkswagen Golf 1.6 TDI. First of all we open the bonnet of our car and start removing the plastic protective cover of the engine; then let's locate our coolant temperature sensor, which we find at the bottom right (to the left of the battery), as shown in the video. At this point we disconnect the electrical connector of the temperature sensor and use a wrench to unscrew and remove it, following the video tutorial to the end!
Posted on 11 April 2023 by ScegliAuto
Other guides that may interest you
|
Frequently Asked QuestionsHow to adjust the time and date of the Peugeot 3008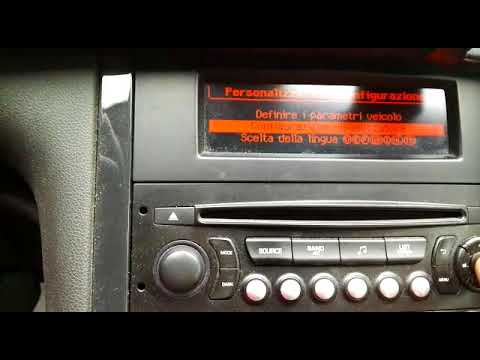
To set the time on the Peugeot 3008 you must use the radio controls on the dashboard; let's start by pressing the "menu" key, with the arrow to the right or left we go to "personalization-configuration" and press the "ok" key; use the down or up arrow to go to "viewer configuration" and press the "ok" button; use the up or down arrow to go to "time and date setting" and press the "ok" button; now we can start changing the date first, moving the arrow down or up, to change the day first, then the month, then the year, then the hour, then the minutes and finally the time format by confirming each selection with the "ok" key. by ScegliAuto More videos
|
For advertising on this site Write to info@scegliauto.com
ScegliAuto is not responsible for any inaccuracy of the data in the lists. To report any inaccuracy or your business (if you own the business in question), please write to info@scegliauto.com
Number of seconds to generate the page: 0.039
(c) ScegliAuto 2024 - info@scegliauto.com - Privacy Policy VAT number: IT01247470535 |