
|
Do it yourself
| |||
| ||||


Replacement of the Brake Master Cylinder
Model: Volkswagen Transporter
MK 3, T3, T25
- Years:
1979, 1980, 1981, 1982, 1983, 1984, 1985, 1986, 1987, 1988, 1989, 1990
Video tutorial
To replace the brake master cylinder, work from inside the cabin, not from the engine bay as one might expect: the cylinder is located beneath the dashboard. Start by removing the trim around the dashboard, then unscrew the relevant retaining screws and complete the disassembly by disconnecting the connectors (it may be advisable to remove the steering wheel, but it is not necessary). Once you reach the master cylinder, disconnect the attached connectors, unscrew the retaining nuts of the pipes, and the bolts securing the cylinder to the brake servo. Then extract the cylinder complete with reservoir, empty the oil, attach the reservoir to the new cylinder, and proceed in reverse for installation. At the end of the assembly, fill the reservoir with oil and pump the brake pedal until it offers the correct resistance.
Updated on 16 February 2026 by ScegliAuto
Related tutorials
Volkswagen Transporter
(1990-2003 /
MK 4, T4)
In this video, learn how to remove and replace the brake master cylinder on the Volkswagen Transporter T4 by following these simple steps. First, loc…
Volkswagen Transporter
(2003-2014 /
T5, MK 5)
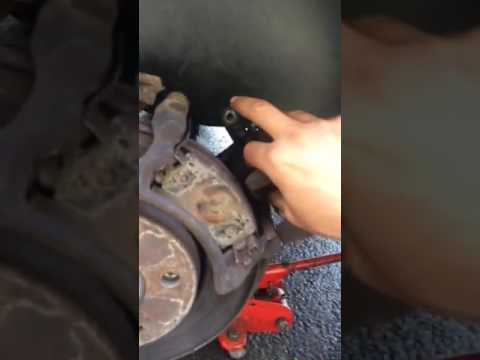
Removing worn brake pads? Let's remove the brake pads from the Volkswagen Transporter. Lift the Transporter with a jack or column lift, then remove t…
Volkswagen Transporter
(2003-2014 /
T5, MK 5)
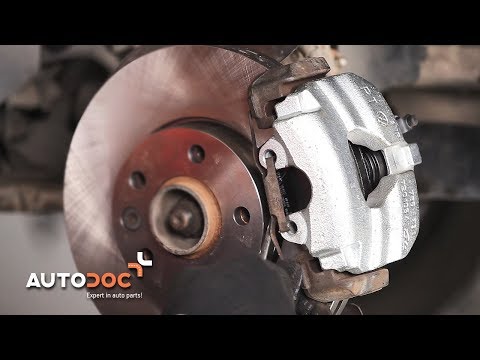
Damage to brake calipers is not a frequent failure, but overheating during braking and often corrosion caused by driving on salted snowy roads can le…
Other guides you may be interested in
|
How to Remove the Rear Seat of a Hyundai Tucson?
To remove the rear seat of a Hyundai Tucson, follow these steps. Start by moving the front seats to their most forward position to gain space. Next, locate the release lever on the underside of the rear seat, near the floor. Press this lever down while pulling the seat upwards to unlock it from the anchor pins. Once unlocked, tilt the seat upwards and forwards to remove it from its position. Repeat this process for both sides of the rear seat. Be careful of any electrical cables or components that may be connected to the seat during removal. Once the rear seat is removed, the disassembly is complete. by ScegliAuto More videos
|
|
For advertising on this site Write to info@scegliauto.com
ScegliAuto is not responsible for any inaccuracy of the data in the lists. To report any inaccuracy or your business (if you own the business in question), please write to info@scegliauto.com
Number of seconds to generate the page: 0.047
(c) ScegliAuto 2026 - info@scegliauto.com - Privacy policy VAT number: IT01247470535 |
