
|
Do it yourself
| |||
| ||||


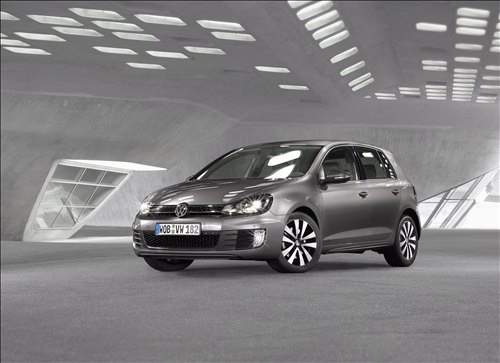
How to Remove the Door Lock from a Golf 6
Model: Volkswagen Golf
Golf 6, MK 6, 5K1, Golf VI
- Years:
2008, 2009, 2010, 2011, 2012
Video tutorial
Has the door lock on your Golf 6 decided to misbehave and you don't want to take the car to the garage to fix it? Here is our free guide that will allow you to carry out the entire job independently. Start by opening the door and removing the central part of the handle; inside the handle, there are two Torx screws that hold the entire panel. Once the screws are removed, extract the panel from the bottom upwards. Now, proceed to remove the window regulator assembly to access the lock. Before removing the window regulator assembly, you will need to remove the glass. To do this, simply remove the caps and lower the glass, remove the internal white screw, and secure it. Remove the plugs and various connectors from the assembly and take out the panel. Now you can access the lock. Disconnect the internal wiring and extract it. Remove the cables and insert them into the new lock. Now you can proceed with the installation of the lock and the various pieces.
Updated on 27 July 2026 by ScegliAuto
Related tutorials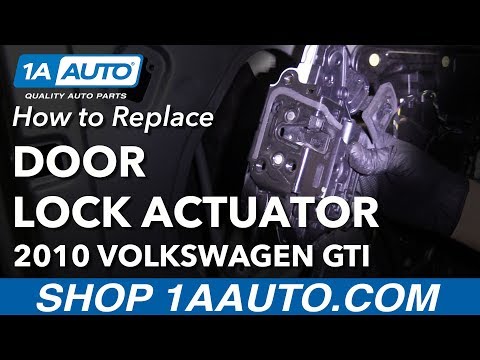
Volkswagen Golf
(2008-2012 /
Golf 6, MK 6, 5K1, Golf VI)
In this video tutorial, you will learn how to remove and replace the front door lock on a sixth-generation Volkswagen Golf. First, open the front doo…

Volkswagen Golf
(2003-2008 /
Golf 5, MK 5, Golf V)
To replace the door lock on a Volkswagen Golf 5, remove the trim located on the side of the door. This will allow you to loosen the screw underneath …

Volkswagen Golf
(1997-2003 /
Golf IV, Golf 4, MK 4)
Follow these simple steps to remove and replace the front door lock on a Volkswagen Golf. First, open the front door of the vehicle and start by remo…
Other guides you may be interested in
|
How to Reset the Tire Pressure Light on a MG ZS?
On the instrument cluster of the MG ZS, the tire pressure light that appears can be reset by inflating the tires to the correct pressure: this value will be indicated on the sticker attached to the driver's door pillar. Once the tires have been properly inflated, you can turn on the instrument cluster and navigate through the menu until you find the option that indicates tire pressure: if this screen shows the new values, the light will turn off; otherwise, you will need to drive for a few miles so that the sensors can read the new values and turn off the light afterward. by ScegliAuto More videos
|
|
For advertising on this site Write to info@scegliauto.com
ScegliAuto is not responsible for any inaccuracy of the data in the lists. To report any inaccuracy or your business (if you own the business in question), please write to info@scegliauto.com
Number of seconds to generate the page: 0.034
(c) ScegliAuto 2026 - info@scegliauto.com - Privacy policy VAT number: IT01247470535 |
