
|
Do it yourself
| |||
| ||||


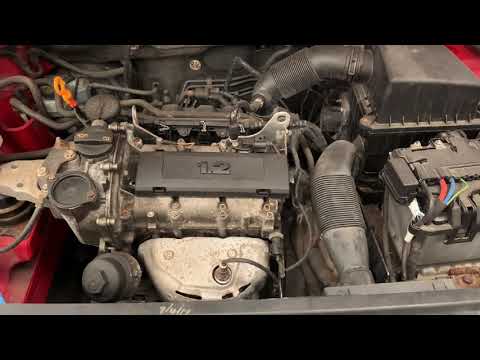
Disassembly of the camshaft sensor of the Volkswagen Polo 1.4.
Model: Volkswagen Polo
9N, Polo 4, Polo IV, MK 4, MK IV
- Years 2001-2009
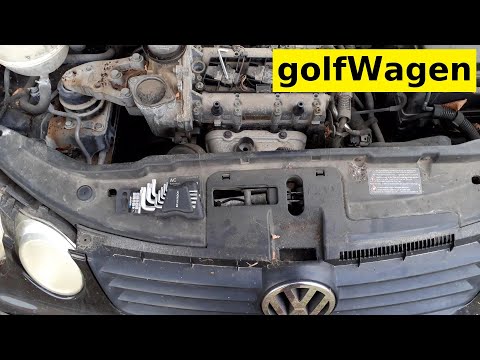
In this video tutorial, we will see instructions on how to disassemble and replace the camshaft sensor of the Volkswagen Polo 1.4, as well as the Seat Ibiza. First, we open the vehicle's engine hood and locate the camshaft position sensor; we find it on the top part, disconnect the electrical connector to unscrew and remove the sensor, as shown in the video. At this point, we install the new camshaft sensor, as well as the original one; we make the electrical connection to test its operation, finally fixing the plastic cover of the engine!
Posted on 28 May 2023 by ScegliAuto
Video tutorial
Related tutorials
Volkswagen Polo
(2001-2009 /
9N, Polo 4, Polo IV, MK 4, MK IV)
Below are the instructions that will allow you to remove and replace the camshaft position sensor on the Volkswagen Polo 1.4. First, open the bonnet …
Volkswagen Polo
(2009-2017 /
Polo V, MK 5, MK V, Polo 5, 6R)
Today, in this short and simple guide, let's see the instructions that will allow us to disassemble and replace the camshaft sensor of the Volkswagen…
Volkswagen Polo
(2001-2009 /
9N, Polo 4, Polo IV, MK 4, MK IV)
In this video, you will see how to remove and replace the camshaft position sensor on the Volkswagen Polo 1.4 by following these simple and quick ste…
Other guides you may be interested in
|
Frequently Asked QuestionsHow to Replace the Front Headlamp Bulb on a Renault Modus
Before starting, open the bonnet of your Renault Modus. Begin by removing the front bumper, unscrewing the screws and bolts. Next, remove the headlamp by unscrewing the fixing bolts and disconnecting the electrical connector. Once done, unclip the bulb cover, then rotate the base of the blown bulb anti-clockwise and finally extract it from its housing. At this point, disconnect the corresponding electrical connector to complete the removal. To fit the new bulb, follow these steps in reverse, and the replacement will be complete. by ScegliAuto More videos
|
|
For advertising on this site Write to info@scegliauto.com
ScegliAuto is not responsible for any inaccuracy of the data in the lists. To report any inaccuracy or your business (if you own the business in question), please write to info@scegliauto.com
Number of seconds to generate the page: 0.084
(c) ScegliAuto 2026 - info@scegliauto.com - Privacy policy VAT number: IT01247470535 |