
|
Do it yourself
| |||
| ||||


Removing and Replacing the Car Radio
Model: Volkswagen Jetta
A4, MK 4
- Years 1998-2005
First, remove the cover above the dashboard (in line with the car radio) by pushing the lever and carefully pulling the cover upwards. Unscrew the screw located beneath the latch mechanism of the cover. Now pull upwards on the second plastic cover. There is a third external finishing structure that you will remove after unscrewing the two screws that secure it and prying at the edges with a plastic tool. Be careful as it is a fragile component. Disconnect the wires from the fans. Now remove the trim around the radio by unscrewing two screws above the two upper corners of the radio and prying with the plastic tool. At this point, you can disassemble the radio itself. Unscrew four screws (one near each corner of the radio) and pull the radio towards you. Disconnect the antenna and power (push the latch clip and pull) and the connection to the speakers (connected via a plug with a latch). For the installation of the new radio, follow the same steps in reverse order. This maintenance operation is performed on a Volkswagen Jetta but is also suitable for a Volkswagen Golf.
Updated on 20 February 2026 by ScegliAuto
Video tutorial
Related tutorials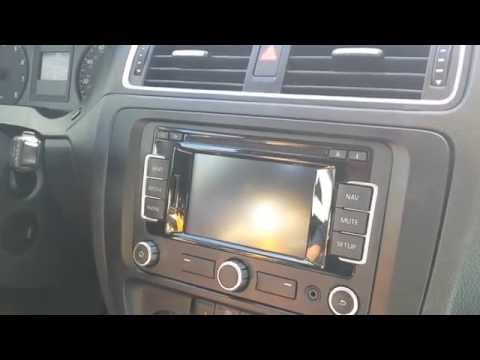
Volkswagen Jetta
(2010-2018 /
MK 6, A6)
This video shows how to remove the factory radio-navigation system from your car. Before starting to remove the radio, ensure you have the necessary …

Volkswagen Jetta
(2010-2018 /
MK 6, A6)
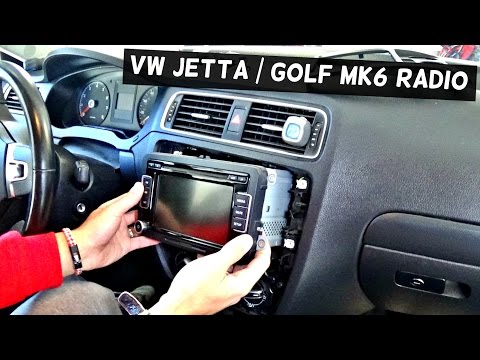
Removing the radio from the Volkswagen Jetta mk6 model is a simple and quick operation that can be done independently, thanks to our short video tuto…
Volkswagen Jetta
(2010-2018 /
MK 6, A6)
Before proceeding with the removal of the car radio, make sure to note any necessary unlock codes for subsequent activation. Next, remove the trim su…
Other guides you may be interested in
|
How to reset the tire pressure sensor of the Hyundai Tucson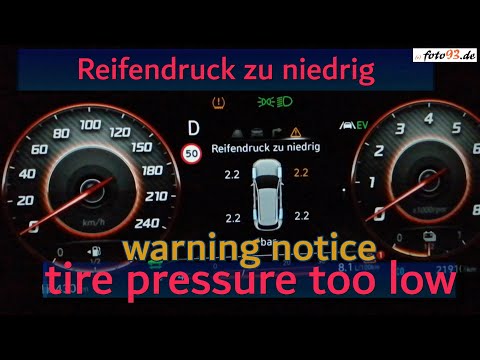
Below we will discover the instructions that will allow us to reset the tire pressure warning light (TPMS) of the Hyundai Tucson. First of all, we get into the car and turn on the instrument panel; then we go to the vehicle settings until we reach the tire pressure monitor, identifying the tire with the incorrect pressure. At this point, we proceed to restore all tire pressures, following the pattern indicated on the label; in this way the TPMS system will be reset and the warning light will be reset by the instrument panel! by ScegliAuto More videos
|
|
For advertising on this site Write to info@scegliauto.com
ScegliAuto is not responsible for any inaccuracy of the data in the lists. To report any inaccuracy or your business (if you own the business in question), please write to info@scegliauto.com
Number of seconds to generate the page: 0.108
(c) ScegliAuto 2026 - info@scegliauto.com - Privacy policy VAT number: IT01247470535 |
