
|
Do it yourself
| |||
| ||||


How to remove the rear bumper on the Volkswagen Polo?
Model: Volkswagen Polo
Polo 5, Polo V, MK 5, MK V, 6R
- Years 2009-2017
In this tutorial we can see how to remove the rear bumper in the Volkswagen Polo, an extremely simple and fast operation. First of all, we open the tailgate, then we move the carpet on the back of the lights, locate the white plastic bolts indicated and unscrew them. We then separate the lights from the bodywork, unscrew the various fixing bolts located inside the wheel arches and on the lower side of the bumper, grip the bumper from one of the two ends and, pulling it outwards, separate it from the frame. To install the replacement, just follow the reverse procedure.
Posted on 15 May 2024 by ScegliAuto
Video tutorial
Related tutorials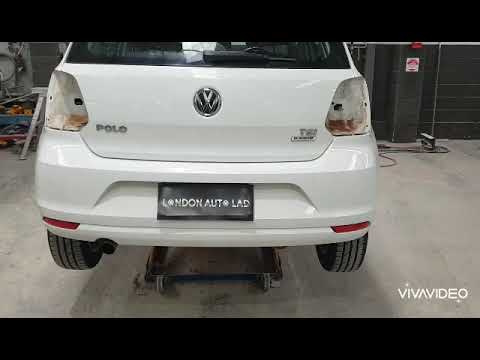
Volkswagen Polo
(2009-2017 /
Polo 5, Polo V, MK 5, MK V, 6R)
Today's step-by-step instructions will show you how to remove and replace the rear bumper of the Volkswagen Polo. First, move to the rear of the vehi…
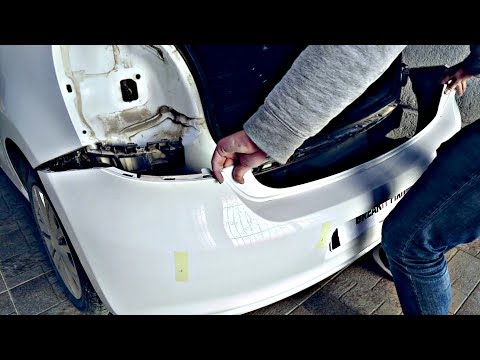
Volkswagen Polo
(2009-2017 /
Polo 5, Polo V, MK 5, MK V, 6R)
Let’s look at removing the rear bumper of a VW Polo (if damaged or for other maintenance). Open the tailgate. Remove the covers behind the rear light…
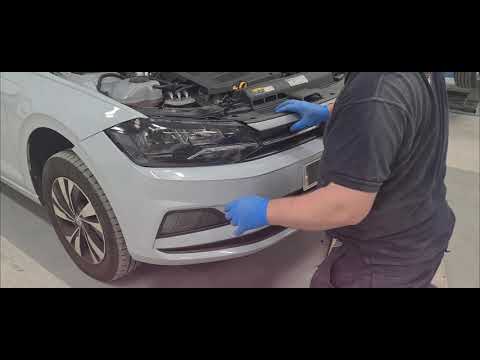
Volkswagen Polo
(2017-2025 /
Polo VI, Polo 6, MK 6, AW1, MK VI)
In this guide, find the main instructions on how to remove and replace the front bumper of the Volkswagen Polo. First, open the bonnet of your car an…
Other guides you may be interested in
|
How to Remove the Front Bumper of the Citroën C4 Picasso?
To remove the front bumper of the Citroën C4 Picasso, you need to take out all the rivets and screws that secure the piece to its housing: these screws are located inside the wheel arches of the front wheels and at the central upper part of the bumper itself. Once all these fastening elements have been removed, you can detach the bumper from its seat by disconnecting the connectors inside and then insert the new replacement part. The new part can then be secured and connected properly, ensuring it is correctly fixed in place. by ScegliAuto More videos
|
|
For advertising on this site Write to info@scegliauto.com
ScegliAuto is not responsible for any inaccuracy of the data in the lists. To report any inaccuracy or your business (if you own the business in question), please write to info@scegliauto.com
Number of seconds to generate the page: 0.104
(c) ScegliAuto 2026 - info@scegliauto.com - Privacy policy VAT number: IT01247470535 |
