
|
Do it yourself
| |||
| ||||


How to Replace Brake Pads
Model: Volvo S70
MK 1
- Years 1996-2000
This video explains how to replace the brake pads on a Volvo S70. The same procedure can be performed on the C70 and V70 models. After raising the vehicle on a ramp, remove the bolts and take off the front wheel. First, remove the caliper: lift the rubber caps covering the bolts holding it in place and, using a Torx T47 bit on a ratchet, unscrew the bolts. Use a screwdriver as a lever to detach the caliper from the disc, then remove the pads to be replaced by hand. Also, remove the caliper bracket: to do this, unscrew the two bolts that secure it using a 15 mm socket on a ratchet and a piece of pipe as an extension to make the job easier. Now, after removing the bracket, tap outward with a hammer to remove the brake disc to be replaced (in this case, the original disc is reinstalled as it is still in good condition). Reposition and secure the bracket; use a C-clamp to retract the piston and insert the new pads. After securing the caliper again and replacing the two rubber caps on the bolts that hold it, remount the wheel. Lastly, by pressing the brake pedal several times while the vehicle is stationary, ensure the pads are properly seated against the disc.
Updated on 9 February 2026 by ScegliAuto
Video tutorial
Related tutorials
Volvo S70
(1996-2000 /
MK 1)
Today's information will allow us to adjust the handbrake lever of the Volvo S70. First, let's get into the vehicle and start by removing the rear pl…
Volvo S70
(1996-2000 /
MK 1)
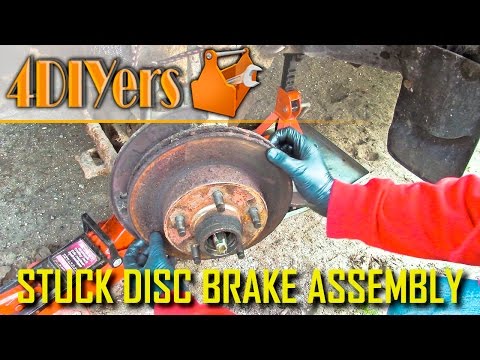
For vehicles that travel on snow-covered roads treated with salt during winter, the oxidation of brake discs and calipers is an inevitable phenomenon…
Volvo S70
(1996-2000 /
MK 1)
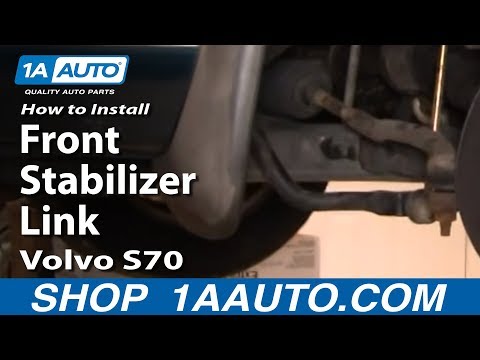
Damage to the links manifests as pronounced noise over uneven surfaces and can be checked by seeing if the ends of the links have play. Lift the vehi…
Other guides you may be interested in
|
How to replace the horn on a Renault Duster - Dacia Duster
Today's main instructions will show you the procedure for removing and replacing the horn or sound signal on the Renault Duster, as well as the Dacia Duster. First, open the bonnet of the vehicle and start removing the front bumper by unscrewing all the fixing screws; you will find the horn right in front of the radiator, as shown in the video. At this point, disconnect the electrical connector and unscrew the bracket screw to remove and replace the horn with the new one; finally, reassemble the front bumper! by ScegliAuto More videos
|
|
For advertising on this site Write to info@scegliauto.com
ScegliAuto is not responsible for any inaccuracy of the data in the lists. To report any inaccuracy or your business (if you own the business in question), please write to info@scegliauto.com
Number of seconds to generate the page: 0.145
(c) ScegliAuto 2026 - info@scegliauto.com - Privacy policy VAT number: IT01247470535 |
