
|
Do it yourself
| |||
| ||||


Replacing the Timing Belt
Model: Audi A6
MK 3, C6
- Years 2004-2012
Replacing the timing belt is not a typical DIY maintenance task because it requires special tools and any mistake during installation could severely damage the engine. That said, in the case of this vehicle, like many from the German manufacturer Volkswagen-Audi, the engine is installed transversely, meaning the timing belt is located at the front rather than the side. Therefore, to access the timing belt, first remove the bumper, headlights, and detach the grille with the radiator assembly; at this point, remove the protective covers, disconnect the auxiliary belt, take off the crankshaft pulley, and remove the last cover. Then align the timing marks and hold them in position with the appropriate tools: this step is absolutely critical, and no mistakes must be made. Next, loosen the timing belt tensioner and remove the belt, replace the water pump, idler pulleys, and tensioner, then install the new belt (usually, the timing belt kit already includes these parts) and tension it, adjusting the tensioner so that the arrow aligns with the reference mark. After installing the timing belt, install the crankshaft pulley, the new auxiliary belt, reassemble everything, and fill the cooling system with the appropriate antifreeze before starting the engine.
Updated on 15 February 2026 by ScegliAuto
Video tutorial
Related tutorials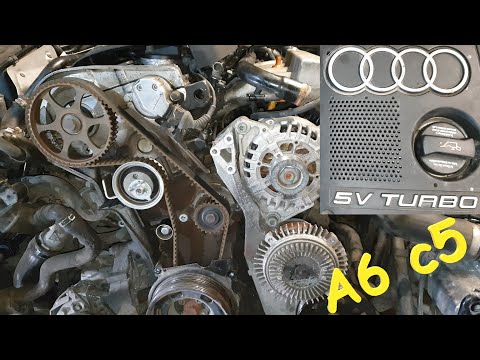
Audi A6
(1997-2004 /
MK 2, C5)
.. provides important instructions for removing and replacing the timing belt on the Audi A6 1.8 Turbo. For this engine type, the timing belt should be replaced.. …

Audi A6
(2011-2018 /
C7, MK 4)
The following steps will show us how to disassemble and replace the timing belt of the Audi A6 2.0 TDI. First, lift the car and start by disassemblin…
Audi A6
(2011-2018 /
C7, MK 4)
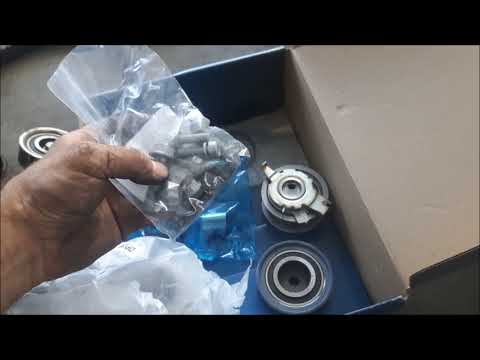
In this video tutorial, you will see the main instructions to help you replace the timing belt on an Audi A6 2.0 TDI. First, open the hood of the veh…
Other guides you may be interested in
|
How to Open the Fuel Cap of the Volkswagen Jetta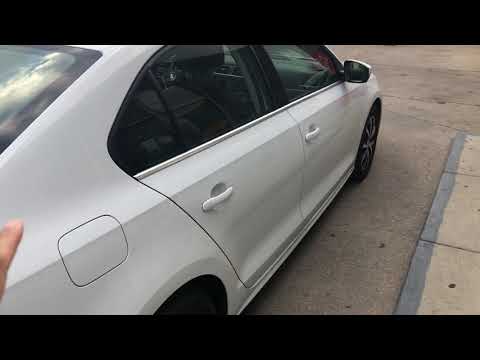
When you need to refuel this vehicle, first open the fuel filler flap. Follow these simple instructions, and you can also watch the video for more details. First, unlock the central locking to open the flaps. Then, press the fuel cap with your hand to unlock it and open it. Underneath, you will find the fuel cap, which you need to unscrew counterclockwise. At this point, you can proceed to refuel. by ScegliAuto More videos
|
|
For advertising on this site Write to info@scegliauto.com
ScegliAuto is not responsible for any inaccuracy of the data in the lists. To report any inaccuracy or your business (if you own the business in question), please write to info@scegliauto.com
Number of seconds to generate the page: 0.106
(c) ScegliAuto 2026 - info@scegliauto.com - Privacy policy VAT number: IT01247470535 |
