
|
Do it yourself
| |||
| ||||


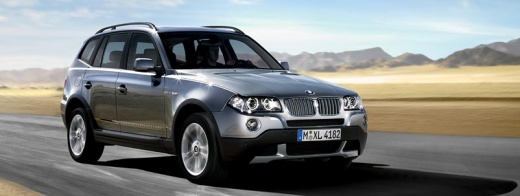
How to reset the 4x4 and brake lights on the BMW X3
Model: BMW X3
E83, MK 1
- Years:
2003, 2004, 2005, 2006, 2007, 2008, 2009, 2010
Video tutorial
Due to an issue related to the control unit, it may happen that when starting the 2007 BMW X3, the 4x4 light and the handbrake light appear on the instrument panel. If after a computerized diagnosis no faults are detected, it means that the control unit is sending incorrect signals to the instrument panel. In these cases, the issue can be resolved by resetting the lights. To perform the reset, we must turn on the vehicle's instrument panel and then turn the steering wheel all the way to the left and then all the way to the right, finally turning off and on the instrument panel to complete the reset.
Posted on 20 January 2025 by ScegliAuto
Related tutorials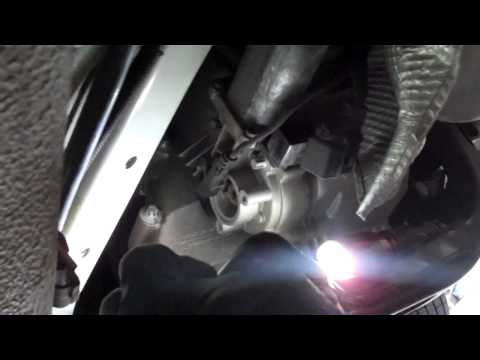
BMW X3
(2003-2010 /
E83, MK 1)
The illumination of the ABS light, along with the 4x4 light on the dashboard of the BMW X3, is a common issue, and the cause is almost always the sam…

BMW X3
(2003-2010 /
E83, MK 1)
To reset the warning lights after a repair or a temporary error on a 2004 BMW X3, you need to turn on the instrument cluster and the engine, steer al…

BMW X3
(2003-2010 /
E83, MK 1)
We see a common problem with this model: the 4x4 and ABS warning lights are constantly on, the car does not drive well, and it seems to be stuck in e…
Other guides you may be interested in
|
Frequently Asked QuestionsHow to Remove the Rear Seat of a Hyundai Tucson?
To remove the rear seat of a Hyundai Tucson, follow these steps. Start by moving the front seats to their most forward position to gain space. Next, locate the release lever on the underside of the rear seat, near the floor. Press this lever down while pulling the seat upwards to unlock it from the anchor pins. Once unlocked, tilt the seat upwards and forwards to remove it from its position. Repeat this process for both sides of the rear seat. Be careful of any electrical cables or components that may be connected to the seat during removal. Once the rear seat is removed, the disassembly is complete. by ScegliAuto More videos
|
|
For advertising on this site Write to info@scegliauto.com
ScegliAuto is not responsible for any inaccuracy of the data in the lists. To report any inaccuracy or your business (if you own the business in question), please write to info@scegliauto.com
Number of seconds to generate the page: 0.023
(c) ScegliAuto 2026 - info@scegliauto.com - Privacy policy VAT number: IT01247470535 |
