
|
Do it yourself
| |||
| ||||



Auxiliary Belt Replacement
Model: Chrysler Pt Cruiser
MK 1
- Years:
2000, 2001, 2002, 2003, 2004, 2005, 2006, 2007, 2008, 2009, 2010
Video tutorial
The vehicle in question has two auxiliary belts: one dedicated solely to the alternator and the other for the air conditioning compressor and water pump. To facilitate replacement, lift the vehicle on a hydraulic lift and remove the cover protecting the pulleys; note the routing of the belts on the various pulleys and proceed with disassembly: first, loosen the tensioner of the outer belt and slide it off; to remove the alternator belt, you need to loosen the alternator bolts. Then, apply the inner belt, tensioning it via the alternator adjustment; then move on to the outer belt, tensioned by the appropriate tensioner.
Updated on 11 February 2026 by ScegliAuto
Related tutorials
Chrysler Pt Cruiser
(2000-2010 /
MK 1)
The vehicle in question actually has two auxiliary belts, one that drives the air conditioning compressor and the power steering pump, and the other …
Chrysler Pt Cruiser
(2000-2010 /
MK 1)
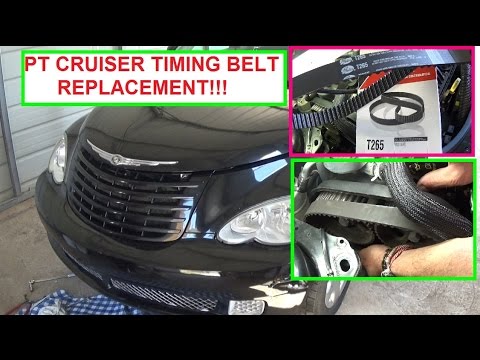
Replacing the timing belt is not typical DIY maintenance as an installation error could severely damage the engine; however, if you wish to attempt t…
Chrysler Pt Cruiser
(2000-2010 /
MK 1)
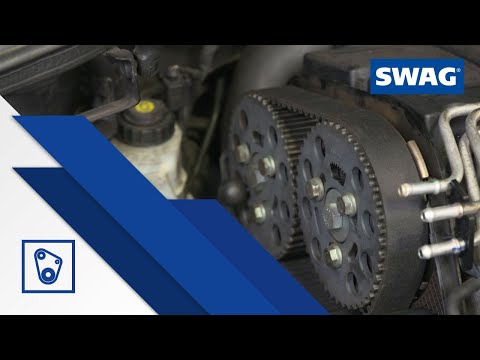
In this video, you will learn how to adjust the tensioner of the timing belt on the Chrysler PT Cruiser. First, ensure the engine is at room temperat…
Other guides you may be interested in
|
How to Remove the Toll Tag Holder from the Car Windscreen
The toll tag holder is usually attached to the car windscreen to ensure that the toll tag functions immediately when passing through barriers. However, if you decide to remove the holder, you should follow this procedure: - Insert the toll tag into the holder; - Pull the holder inwards to detach it from the windscreen; you can use a glass scraper or a stiff plastic card to assist you; After removing the holder, it is essential to remove the adhesive from the windscreen. To remove the adhesive, we recommend using a solvent-based spray that will remove the glue without clouding the area. by ScegliAuto More videos
|
|
For advertising on this site Write to info@scegliauto.com
ScegliAuto is not responsible for any inaccuracy of the data in the lists. To report any inaccuracy or your business (if you own the business in question), please write to info@scegliauto.com
Number of seconds to generate the page: 0.038
(c) ScegliAuto 2026 - info@scegliauto.com - Privacy policy VAT number: IT01247470535 |
