
|
Do it yourself
| |||
| ||||


How to Replace the EGR Valve on a Citroen C3 II 1.4 HDI
Model: Citroen C3
SC
- Years 2009-2016
On the Citroen C3 1.4 HDI, the EGR valve is mounted directly on the intake manifold, on the front side of the engine (timing belt side), and is easily accessible. You do not need to remove the manifold, but you must be patient with the electrical connectors. First, disconnect the battery, locate the valve, and remove the components that obstruct access: the electrical connectors, the two coolant hoses going to the valve (some coolant will spill out, so have a cloth ready), then disconnect the flexible air hose. Unscrew the valve so you can pull it towards you. Clean the manifold seat and install the new valve, which you can find on eBay with the code 354288992179 for £39. Insert the coolant hoses and the electrical connector. Check the coolant level and top up if necessary, reconnect the battery, and start the engine. If the warning light is on, you need to perform a relearning procedure by driving for 10 miles at varying speeds so that it resets itself.
Posted on 27 June 2026 by ScegliAuto
Video tutorial
Related tutorials
Citroen C3
(2002-2009 /
FC, FN)
In this guide, we will see step-by-step instructions on how to disassemble and replace the EGR valve of the Citroen C3 1.4 HDi. First, let's open the…

Citroen C3
(2009-2016 /
SC)
The step-by-step instructions in this guide will show us how to disassemble and replace the EGR valve of the Citroen C3 1.4 HDI. First, we open the h…
Citroen C3
(2009-2016 /
SC)
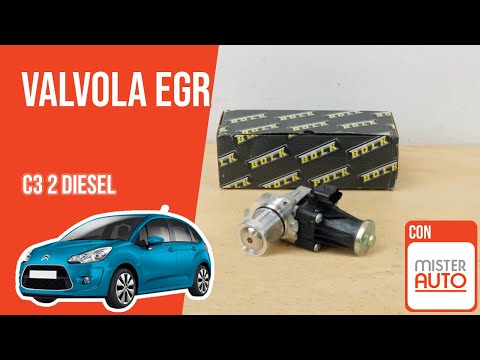
In this video, we will see how to change the EGR valve on a Citroen C3 1.4 HDI: open the bonnet and disconnect the mass air flow sensor and the elect…
Other guides you may be interested in
|
How to Replace the Battery on a Honda Vision 110
To replace the battery on a Honda Vision 110, you need to remove the front fairing of the motorcycle, located directly under the front headlamp. To loosen this panel, unscrew the two screws found at its top, just below the handlebar. Once these screws are loosened, lever under the panel to detach it, gaining access to the battery underneath: this battery must be removed from its housing by unscrewing the fixing screws and disconnecting the power cables, replacing it with a new one. by ScegliAuto More videos
|

|
For advertising on this site Write to info@scegliauto.com
ScegliAuto is not responsible for any inaccuracy of the data in the lists. To report any inaccuracy or your business (if you own the business in question), please write to info@scegliauto.com
Number of seconds to generate the page: 0.122
(c) ScegliAuto 2026 - info@scegliauto.com - Privacy policy VAT number: IT01247470535 |
