
|
Do it yourself
| |||
| ||||


How to Replace the Timing Belt on a Fiat Panda 4x4
Model: Fiat Panda
169, MK 2
- Years 2003-2012
The following video tutorial illustrates the steps to independently replace the timing belt on a Fiat Panda 4x4 model 169. The first steps before replacement are to raise the vehicle on a ramp and remove the lower cover of the car, then remove the front right and left wheels. Next, disconnect the upper radiator hose, allowing some coolant to drain into a container. Remove the auxiliary belt and disconnect the camshaft sensors. Set the engine to TDC by aligning the marks on the crankshaft and camshaft to position the piston of cylinder 1 at TDC; this step is crucial to avoid losing engine synchronization. Then loosen the tensioner to remove the timing belt and extract the tensioner and water pump. Install the new water pump and position the new timing belt according to the rotation direction and alignment of the previously made marks. Fit the tensioner and ensure the belt is properly tensioned. Manually rotate the engine two turns and reinstall the previously removed parts in reverse order, then refill the radiator reservoir with coolant.
Posted on 14 February 2026 by ScegliAuto
Video tutorial
Related tutorials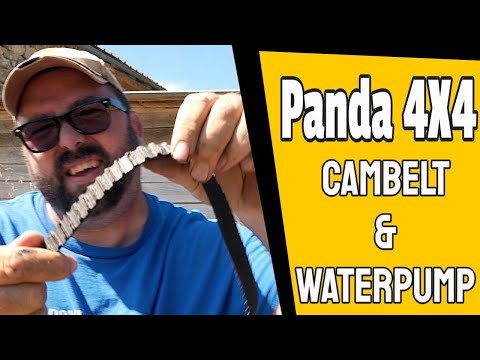
Fiat Panda
(1980-2003 /
141, MK 1)
Today's guide will illustrate some important steps on how to remove and replace the timing belt on the Fiat Panda 4x4. The timing belt on the Panda 9…
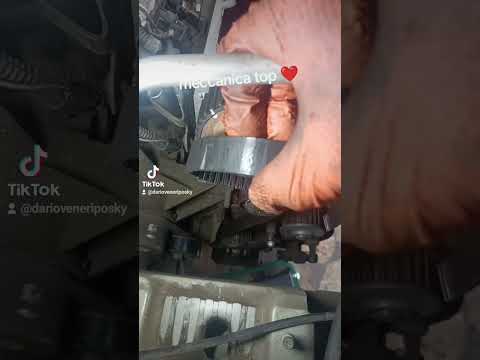
Fiat Panda
(2003-2012 /
169, MK 2)
Good morning, today's guide aims to replace the timing belt on your Fiat Panda. Start by opening the front bonnet. Next, remove all components relate…

Fiat Panda
(2003-2012 /
169, MK 2)
Today we will explain how to replace the timing belt of the Fiat Panda. We start the replacement by opening the front hood, then we disassemble and r…
Other guides you may be interested in
|
How to Check the Oil Level on a Jeep Renegade?
To check the oil level on a Jeep Renegade, you need to open the bonnet to access the components inside the engine bay: on the lower left side of the engine block, you will find the dipstick for checking the level. This should be pulled out and thoroughly cleaned with a cloth: once cleaned, reinsert it back into its tube and pull it out immediately after. This way, you can check that the oil mark is between the minimum and maximum levels; finally, you can place the dipstick back in its tube. by ScegliAuto More videos
|

|
For advertising on this site Write to info@scegliauto.com
ScegliAuto is not responsible for any inaccuracy of the data in the lists. To report any inaccuracy or your business (if you own the business in question), please write to info@scegliauto.com
Number of seconds to generate the page: 0.209
(c) ScegliAuto 2026 - info@scegliauto.com - Privacy policy VAT number: IT01247470535 |
