
|
Do it yourself
| |||
| ||||


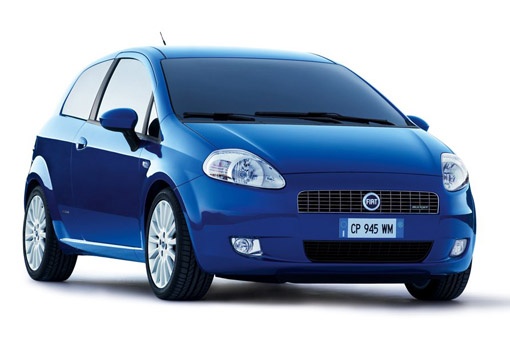
How to Bleed the Diesel Filter
Model: Fiat Punto
199, MK 3, Grandepunto , Punto EVO
- Years:
2005, 2006, 2007, 2008, 2009, 2010, 2011, 2012, 2013, 2014, 2015, 2016
Video tutorial
Water can form in the diesel tank, but it is not the petrol station's fault: it is natural condensation that occurs in the tank due to the humidity in the air entering when the tank is emptied. Here’s how to bleed the filter: turn off the engine and locate the diesel filter. Identify the bleed valve (a cap with a hole or a threaded fitting at the top of the filter). Connect a tube to the bleed valve and place the other end in a bottle. Using a key, loosen the bleed valve cap half a turn and turn on the ignition: the diesel pump will activate for a few seconds and push the diesel/water out through the tube. Let it drain for a few seconds until only diesel comes out (without bubbles or foam). Tighten the bleed valve securely and turn off the ignition. Check the bottle: the water will have settled at the bottom. This liquid (along with the diesel) must be disposed of at an authorised centre.
Posted on 28 August 2026 by ScegliAuto
Related tutorials
Fiat Punto
(1999-2011 /
MK 2, 188)
In this video tutorial, you will learn how to remove and replace the diesel filter of the second series Fiat Punto with a 1.9 JTD engine. First, open…

Fiat Punto
(2005-2018 /
199, MK 3, Grandepunto , Punto EVO)
Replace the diesel filter on a Fiat Grande Punto: lift the car's bonnet; locate the diesel filter as shown in the video and use a large screwdriver t…

Fiat Punto
(2005-2018 /
199, MK 3, Grandepunto , Punto EVO)
Before you start, open the bonnet of your Fiat Punto and disconnect the negative terminal of the battery to work safely. Begin by unclipping and movi…
Other guides you may be interested in
|
How to Remove the Rear Seat of a Hyundai Tucson?
To remove the rear seat of a Hyundai Tucson, follow these steps. Start by moving the front seats to their most forward position to gain space. Next, locate the release lever on the underside of the rear seat, near the floor. Press this lever down while pulling the seat upwards to unlock it from the anchor pins. Once unlocked, tilt the seat upwards and forwards to remove it from its position. Repeat this process for both sides of the rear seat. Be careful of any electrical cables or components that may be connected to the seat during removal. Once the rear seat is removed, the disassembly is complete. by ScegliAuto More videos
|
|
For advertising on this site Write to info@scegliauto.com
ScegliAuto is not responsible for any inaccuracy of the data in the lists. To report any inaccuracy or your business (if you own the business in question), please write to info@scegliauto.com
Number of seconds to generate the page: 0.102
(c) ScegliAuto 2026 - info@scegliauto.com - Privacy policy VAT number: IT01247470535 |
