
|
Do it yourself
| |||
| ||||



How to replace the Ford Kuga joint filter
Model: Ford Kuga
MK 1, C394
- Years:
2008, 2009, 2010, 2011, 2012
Video tutorial
Today we will explain how to replace the Ford Kuga's Haldex joint filter on your own. But what is the Haldex joint? It is an electro-hydraulic system connected to the rear differential that allows the vehicle to switch from front-wheel drive to all-wheel drive depending on the needs. This process creates a high degree of friction between the metallic components of the system, leading to the degradation of parts. However, joint maintenance is not included in regular maintenance. We lift the vehicle and disconnect the wiring, the two hydraulic pump mounting bolts, in order to drain the joint oil. The oil must be replaced every 3 years or at 48,000 km. We mount the pump in its housing. We remove the joint filter nuts and proceed with its replacement. We top up the fluid in the tank.
Posted on 4 July 2025 by ScegliAuto
Related tutorials
Ford Kuga
(2012-2019 /
MK 2, C520)
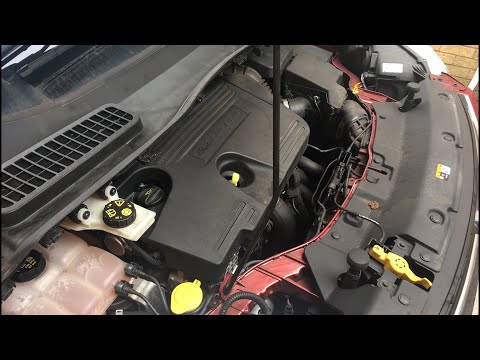
If it is time to replace the cabin air filter of your second-generation Ford Kuga (2017) but you do not know how to do it, do not worry because below…
Ford Kuga
(2012-2019 /
MK 2, C520)
Learn how to remove the diesel filter on a Ford Kuga. Lift the car on a column lift (jack), locate the diesel filter after removing the soundproofing…

Ford Kuga
(2012-2019 /
MK 2, C520)
In this video, see how to replace the air filter on the Ford Kuga. First, note that the air filter is located in the engine bay. Prepare all necessar…
Other guides you may be interested in
|
How to Remove the Rear Seat of a Hyundai Tucson?
To remove the rear seat of a Hyundai Tucson, follow these steps. Start by moving the front seats to their most forward position to gain space. Next, locate the release lever on the underside of the rear seat, near the floor. Press this lever down while pulling the seat upwards to unlock it from the anchor pins. Once unlocked, tilt the seat upwards and forwards to remove it from its position. Repeat this process for both sides of the rear seat. Be careful of any electrical cables or components that may be connected to the seat during removal. Once the rear seat is removed, the disassembly is complete. by ScegliAuto More videos
|
|
For advertising on this site Write to info@scegliauto.com
ScegliAuto is not responsible for any inaccuracy of the data in the lists. To report any inaccuracy or your business (if you own the business in question), please write to info@scegliauto.com
Number of seconds to generate the page: 0.066
(c) ScegliAuto 2026 - info@scegliauto.com - Privacy policy VAT number: IT01247470535 |
