
|
Do it yourself
| |||
| ||||



How to Reset the Service Light on My Ford C-Max with Automatic Transmission?
Model: Ford C Max
MK 2
- Years:
2010, 2011, 2012, 2013, 2014, 2015, 2016, 2017, 2018, 2019
Video tutorial
The service light on your car indicates that it is time for a service, which includes changing the engine oil and the corresponding filter. If you are handy with DIY and have the right tools, you can do this yourself in your garage. However, in most cases (and also to dispose of used oil more easily and correctly), it is advisable to go to a garage, a specialist centre, or even many petrol stations that offer this service. Regardless of how you choose to change the oil, once the operation is completed, you will need to reset the light to restart the mileage count before the next service. In your Ford C-Max with automatic transmission, to perform the reset, turn on the ignition (not the engine) and press the brake and clutch pedals simultaneously for 5 seconds (until the 'OK' message appears on the display). At this point, simply turn off the ignition and you're done! For more detailed information, I recommend watching the following video.
Updated on 25 April 2026 by ScegliAuto
Related tutorials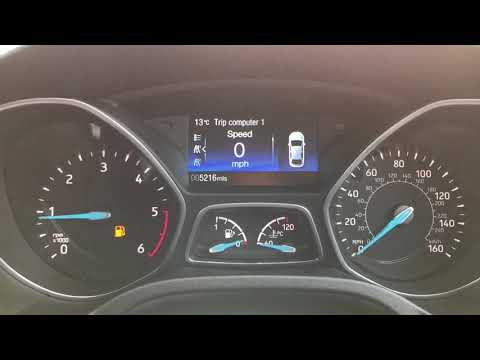
Ford C Max
(2010-2019 /
MK 2)
In today's video, we will see how the start & stop system works on the Ford C-Max. Firstly, for the system to function, the engine coolant must be at…

Ford C Max
(2010-2019 /
MK 2)
To reset the Service light on the Ford C-Max, turn on the instrument panel by inserting the ignition key into the ignition switch: once the panel is …

Ford C Max
(2010-2019 /
MK 2)
In this tutorial, see how to unlock the automatic gearbox in the Ford C-Max, a procedure to perform in case of emergency, for example, to move the ve…
Other guides you may be interested in
|
How to Remove the Rear Seat of a Hyundai Tucson?
To remove the rear seat of a Hyundai Tucson, follow these steps. Start by moving the front seats to their most forward position to gain space. Next, locate the release lever on the underside of the rear seat, near the floor. Press this lever down while pulling the seat upwards to unlock it from the anchor pins. Once unlocked, tilt the seat upwards and forwards to remove it from its position. Repeat this process for both sides of the rear seat. Be careful of any electrical cables or components that may be connected to the seat during removal. Once the rear seat is removed, the disassembly is complete. by ScegliAuto More videos
|
|
For advertising on this site Write to info@scegliauto.com
ScegliAuto is not responsible for any inaccuracy of the data in the lists. To report any inaccuracy or your business (if you own the business in question), please write to info@scegliauto.com
Number of seconds to generate the page: 0.059
(c) ScegliAuto 2026 - info@scegliauto.com - Privacy policy VAT number: IT01247470535 |
