
|
Do it yourself
| |||
| ||||


Instructions for Replacing the A/C Condenser
Model: Ford Mustang
S197, MK 5
- Years 2005-2014
Before lifting the vehicle on the ramp, open the cap of the coolant reservoir to allow the fluid to drain; then remove the lower plastic protections and unscrew the radiator drain plug to empty the cooling system. Next, access the engine compartment and remove the plastic cover from the grille. Unscrew the fastening pins of the reservoir and move it without disconnecting the hoses (secure it with cable ties); proceed to remove the brackets securing the radiator to the grille and disconnect the hose from the radiator. It is also necessary to remove the air filter housing and its duct to complete the removal of the radiator assembly. Then disconnect the various connectors and use the appropriate equipment to recover the gas from the air conditioning system. Move the radiator assembly away from the grille and remove the brackets that secure the condenser to the radiator; disconnect the pipes from the condenser and extract it from the engine compartment. Install the new condenser by reversing the process, reinstall everything previously removed, refill the cooling system with the appropriate fluid, and the air conditioning system with the corresponding gas after performing and verifying the vacuum hold with the appropriate equipment.
Updated on 11 February 2026 by ScegliAuto
Video tutorial
Related tutorials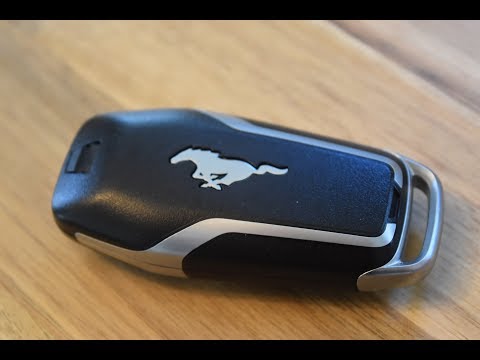
Ford Mustang
(2015-2023 /
MK 6, S550)
Start by pressing and holding the button located on the top side of the key for your Ford Mustang, then remove the back cover of the key. Next, extra…

Ford Mustang
(2005-2014 /
S197, MK 5)
Replacing the interior lights and perhaps the number plate lights with LED bulbs will give the vehicle a more modern and appealing look; specific kit…

Ford Mustang
(2005-2014 /
S197, MK 5)
Today, we will discover the instructions that will allow you to program the remote and key for a Ford Mustang. First, get in the vehicle and close al…
Other guides you may be interested in
|
How to Open a Stuck Boot on the Peugeot 407?
On the Peugeot 407, the boot may become stuck, possibly due to a problem with the control button or the lock actuator. In such cases, you can perform an emergency opening by following the simple procedure shown in this tutorial. First, open the rear doors, then lower the seat back by operating the release lever. Next, go inside the boot, locate the lock, and manually operate it using a flathead screwdriver. The boot will then be free to open. by ScegliAuto More videos
|
|
For advertising on this site Write to info@scegliauto.com
ScegliAuto is not responsible for any inaccuracy of the data in the lists. To report any inaccuracy or your business (if you own the business in question), please write to info@scegliauto.com
Number of seconds to generate the page: 0.218
(c) ScegliAuto 2026 - info@scegliauto.com - Privacy policy VAT number: IT01247470535 |
