
|
Do it yourself
| |||
| ||||


Replacing the Front Wheel Bearing
Model: Ford Mondeo / Fusion
MK 1
- Years 1993-2000
Here’s how to replace the front wheel bearing on a Ford Mondeo. After applying the handbrake, loosen the hub nut. Lift the car with a jack and remove the wheel bolts, then take off the wheel. Disconnect the two bolts of the brake caliper and remove it; also take out the brake pads and hang the caliper so it doesn’t interfere. Remove the caliper bracket as well. Take off the brake disc and the hub nut. Now remove the nut from the lower ball joint and take out the ball joint. Disconnect the driveshaft. Remove the steering ball joint and unplug the ABS sensor. After unscrewing its fixing screw, take out the hub carrier. Using a hammer and a socket, also remove the hub. With a puller and a jaw, try to remove the bearing from the inner race. Now make a notch on the inner race with a grinder, then detach the race, also removing its inner and outer retaining rings. Take the bearing installation tool (the one with a slightly smaller diameter than the bearing race). Insert the retaining rings provided with the new bearing kit. Lubricate the hub carrier and the bearing itself. Screw in the bearing until it stops against the retaining ring. Now lubricate the inner part of the bearing and the hub. Insert the second retaining ring. Proceed to reassemble everything as before, reversing the disassembly steps.
Updated on 12 February 2026 by ScegliAuto
Video tutorial
Related tutorials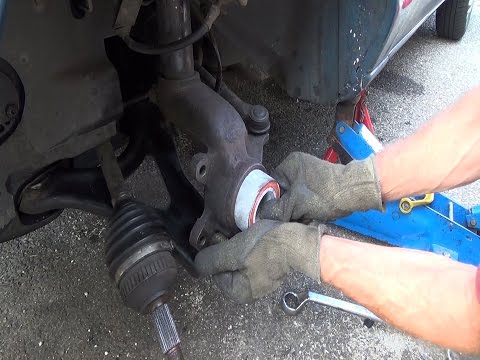
Ford Mondeo / Fusion
(1993-2000 /
MK 1)
When replacing the wheel hub bearing, the first step is to remove the nut at the centre of the hub: before lifting the vehicle, engage first gear, pu…
Ford Mondeo / Fusion
(1993-2000 /
MK 1)
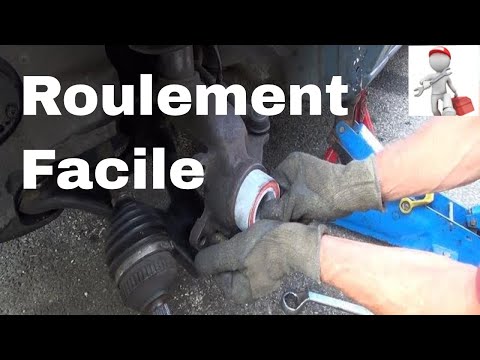
To replace the front hub bearing directly on the vehicle, you need specific tools; lift the vehicle on suitable axle stands, remove the front wheel (…
Ford Mondeo / Fusion
(1993-2000 /
MK 1)
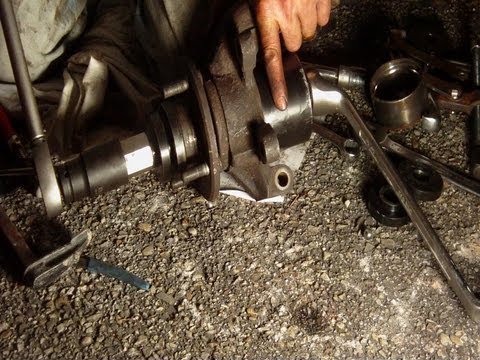
Before lifting the vehicle, loosen the central nut that secures the driveshaft to the hub and the wheel fixing bolts; then lift the car and place it …
Other guides you may be interested in
|
How to reset the tyre pressure warning light on the Suzuki Jimny?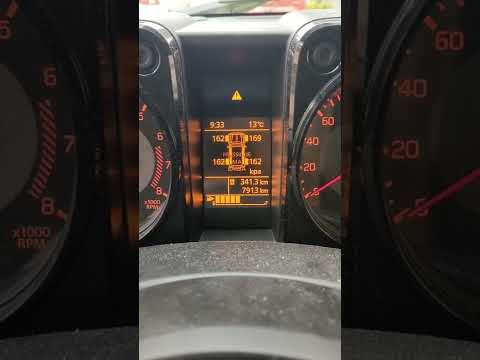
To reset the tyre pressure warning light on the Suzuki Jimny, first inflate the tyres to the pressure value indicated on the corresponding sticker: this is located at the bottom of the driver's door pillar. Once the tyres are inflated, insert the ignition key and turn on the instrument panel: select the screen that indicates the tyre pressures, checking that the values change. After a few seconds, the tyre pressure warning light will automatically turn off. by ScegliAuto More videos
|
|
For advertising on this site Write to info@scegliauto.com
ScegliAuto is not responsible for any inaccuracy of the data in the lists. To report any inaccuracy or your business (if you own the business in question), please write to info@scegliauto.com
Number of seconds to generate the page: 0.464
(c) ScegliAuto 2026 - info@scegliauto.com - Privacy policy VAT number: IT01247470535 |
