
|
Do it yourself
| |||
| ||||


Replacing the Front Wheel Bearing
Model: Ford Mondeo / Fusion
MK 1
- Years 1993-2000
Before lifting the vehicle, unscrew the central nut securing the driveshaft to the hub; then lift the vehicle and support it on a jack stand and complete the disassembly of the front wheel. Remove the safety clip from the nut securing the steering tie rod end to unscrew it and extract the tie rod end from its seat. Proceed to disassemble the brake caliper along with its support; disconnect the speed sensor and complete the extraction of the driveshaft by also unscrewing the bolt securing the tie rod end to the wishbone and the one securing the hub to the shock absorber. Once the hub is removed, take off the brake disc, position the hub in a vice, and extract the disc support (it is better to use a press).
At this point, use a puller to remove the bearing from the hub after releasing the circlip. Then insert the new bearing, applying grease to facilitate its insertion: use the bush with the corresponding puller. Once the installation of the new bearing is complete, proceed in reverse for reassembly on the vehicle.
Updated on 12 February 2026 by ScegliAuto
Video tutorial
Related tutorials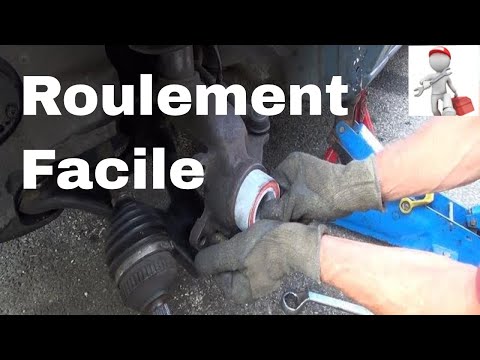
Ford Mondeo / Fusion
(1993-2000 /
MK 1)
To replace the front hub bearing directly on the vehicle, you need specific tools; lift the vehicle on suitable axle stands, remove the front wheel (…
Ford Mondeo / Fusion
(1993-2000 /
MK 1)
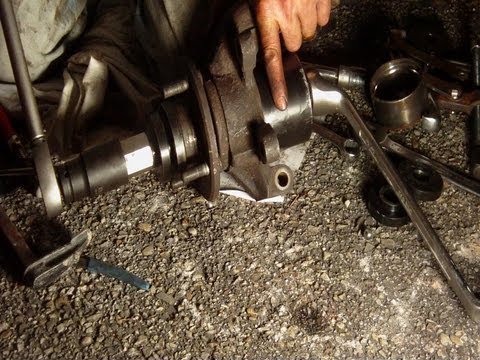
Before lifting the vehicle, loosen the central nut that secures the driveshaft to the hub and the wheel fixing bolts; then lift the car and place it …
Ford Mondeo / Fusion
(2000-2007 /
MK 2)
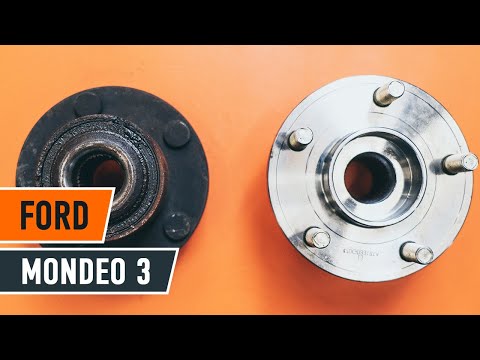
Here's how to remove a wheel bearing on a Ford Mondeo. Position the car on a column lift, loosen the bolts with a socket wrench, and raise it to a co…
Other guides you may be interested in
|
How to Check the Oil Level on a Jeep Renegade?
To check the oil level on a Jeep Renegade, you need to open the bonnet to access the components inside the engine bay: on the lower left side of the engine block, you will find the dipstick for checking the level. This should be pulled out and thoroughly cleaned with a cloth: once cleaned, reinsert it back into its tube and pull it out immediately after. This way, you can check that the oil mark is between the minimum and maximum levels; finally, you can place the dipstick back in its tube. by ScegliAuto More videos
|
|
For advertising on this site Write to info@scegliauto.com
ScegliAuto is not responsible for any inaccuracy of the data in the lists. To report any inaccuracy or your business (if you own the business in question), please write to info@scegliauto.com
Number of seconds to generate the page: 0.582
(c) ScegliAuto 2026 - info@scegliauto.com - Privacy policy VAT number: IT01247470535 |
