
|
Do it yourself
| |||
| ||||


Honda Civic Years 1992-1995 (MK 5) Honda Civic (1992-1995 / MK 5)
How do you remove the front door of the Honda Civic? In order to remove the front door of the Honda Civic, you need to open the hood so that you can access all the screws that secure the corresponding fender: the …Read all… Posted on 10 August 2024 by ScegliAuto 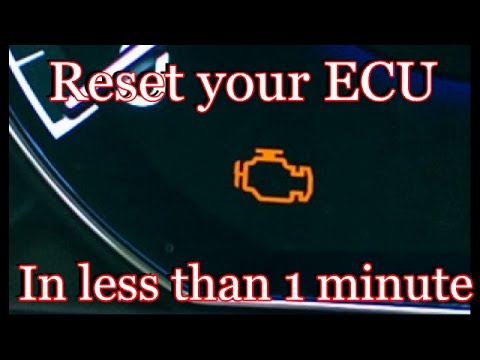 Honda Civic (1992-1995 / MK 5)
How to Reset the ECU on the Honda Civic To reset the ECU on the Honda Civic, start by opening the bonnet by pulling the lever inside. Unlock it and hold it up with the prop rod. Once the bonnet is …Read all… Posted on 14 August 2026 by ScegliAuto  Honda Civic (1992-1995 / MK 5)
How to Replace the Starter Motor Brushes on a Honda Civic? In this detailed tutorial, learn how to replace the starter motor brushes on a Honda Civic EG. This is a delicate but relatively simple operation if you …Read all… Posted on 18 July 2026 by ScegliAuto 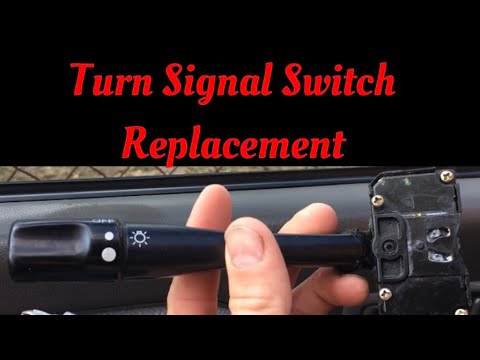 Honda Civic (1992-1995 / MK 5)
How to Replace the Indicator Stalks on the Honda Civic? To replace the indicator stalks on the Honda Civic, first loosen the screws that secure the cover of the lower part of the steering column. Once the cover is …Read all… Posted on 11 June 2026 by ScegliAuto 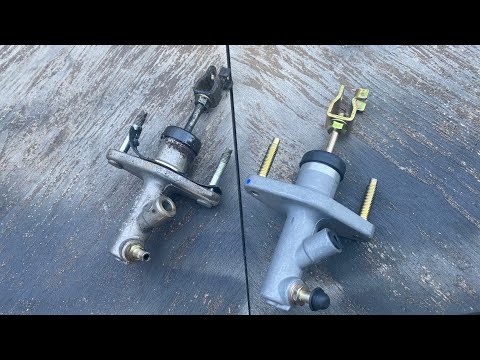 Honda Civic (1992-1995 / MK 5)
How to Remove the Clutch Pump from a Honda Civic Before starting, open the driver's door of your Honda Civic. Begin by unhooking and removing the cover near the pedal area. Next, disconnect the hoses …Read all… Posted on 1 June 2026 by ScegliAuto 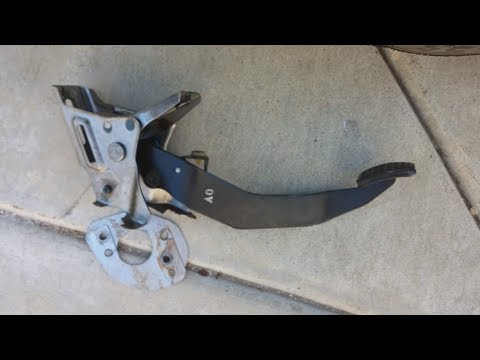 Honda Civic (1992-1995 / MK 5)
How to Replace the Clutch Pedal on a Honda Civic Begin by entering the cabin at the driver's seat. Proceed to remove the lower carpet in the pedal area. Then, disconnect the clutch pump from the pedal. Next, …Read all… Posted on 1 May 2026 by ScegliAuto 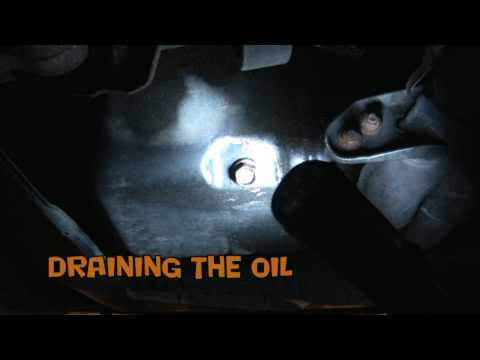 Honda Civic (1992-1995 / MK 5)
Replacing the Engine Oil and Filter To change the engine oil and filter, first obtain the oil and replacement filter according to the technical specifications for your car. Secondly, you will …Read all… Posted on 16 February 2026 by ScegliAuto 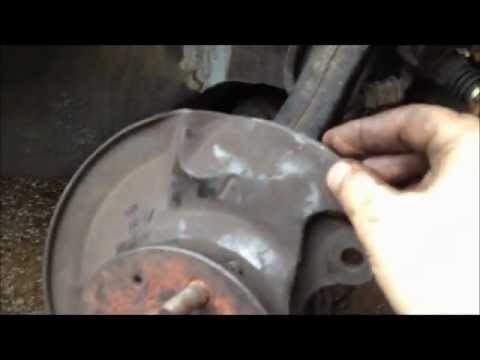 Honda Civic (1992-1995 / MK 5)
Front Suspension Wishbone Ball Joint Replacement The ball joint of the front suspension wishbone is pressed into the front hub; therefore, to replace it, you need to free the hub to apply a puller. Lift the …Read all… Posted on 14 February 2026 by ScegliAuto
Honda Civic (1992-1995 / MK 5)How to Remove and Replace the Fuel Filter This video shows you step by step how to change the fuel filter. Open the bonnet and locate the filter and its housing as shown in the video. As a precaution, …Read all… Posted on 13 February 2026 by ScegliAuto 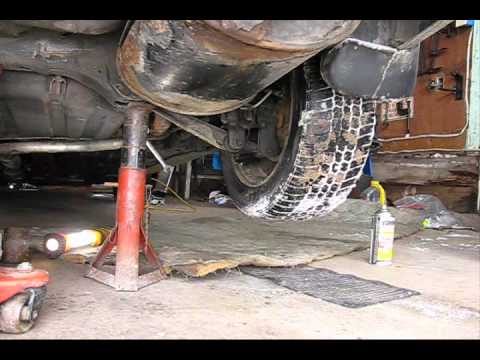 Honda Civic (1992-1995 / MK 5)
Exhaust System Replacement Instructions Lift the rear of the vehicle with a jack and use axle stands to support it safely during disassembly. Spray penetrating oil on the mounting bolts of the flange …Read all… Posted on 10 February 2026 by ScegliAuto  Honda Civic (1992-1995 / MK 5)
Replacement of Worn Shock Absorbers You only need an 18 mm socket spanner for this operation. Remove the wheel and unscrew the nut that secures one end of the shock absorber to the vehicle's …Read all… Posted on 9 February 2026 by ScegliAuto 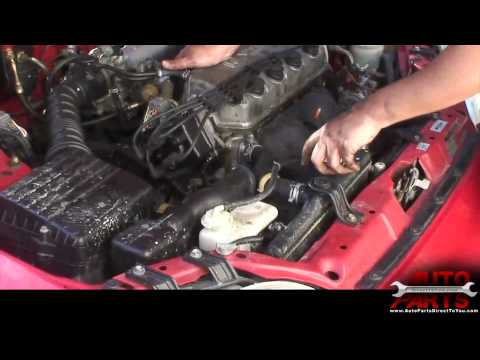 Honda Civic (1992-1995 / MK 5)
Engine Cooling Radiator Replacement Open the expansion tank cap and place a container under the radiator to collect the coolant. Open the lower tap and let the coolant drain into the container. …Read all… Posted on 6 February 2026 by ScegliAuto  Honda Civic (1992-1995 / MK 5)
Installation of Aftermarket Xenon Headlight Kit Open the bonnet and disconnect the negative terminal of the battery to isolate it. Unclip and remove the air intake duct to gain easier access to the passenger …Read all… Posted on 5 February 2026 by ScegliAuto 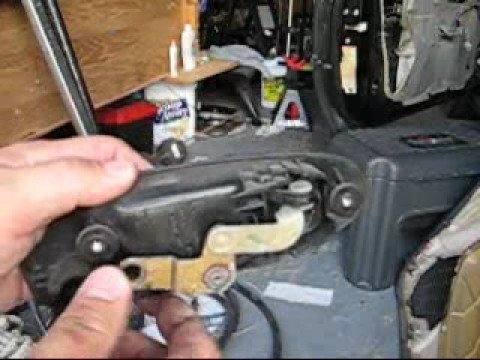 Honda Civic (1992-1995 / MK 5)
How to Replace the Door Handle Obtain the replacement handle and ensure it functions correctly. Open the door and remove the corresponding internal panel by prying it from the opening near …Read all… Posted on 4 February 2026 by ScegliAuto |
See also:
How to Connect the Cables to the Battery of the Citroen Xsara Picasso?
In this tutorial, you will see how to connect the cables to the battery of the Citroen Xsara Picasso, useful if you need to recharge it or perform an emergency start. First, ensure the key is not inserted, then open the bonnet and move to the front of the left headlamp. Next, locate the bolt just behind the filter box and connect the positive terminal clamp to it. Now you can connect the negative terminal to any point on the chassis, such as the indicated point. Once the operation is complete, ensure you disconnect the negative first and then the positive. by ScegliAuto More videos
|
|
For advertising on this site Write to info@scegliauto.com
ScegliAuto is not responsible for any inaccuracy of the data in the lists. To report any inaccuracy or your business (if you own the business in question), please write to info@scegliauto.com
Number of seconds to generate the page: 0.012
(c) ScegliAuto 2026 - info@scegliauto.com - Privacy policy VAT number: IT01247470535 |
