
|
Do it yourself
| |||
| ||||


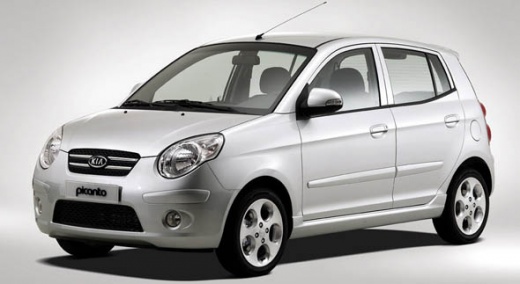
Changing a headlight bulb in the Kia Picanto MK1.
Model: Kia Picanto
MK 1, 2A
- Years:
2004, 2005, 2006, 2007, 2008, 2009, 2010, 2011
Video tutorial
In this video we can see that changing any of the front bulbs of the Kia Picanto is not as easy as it seems: in fact, the engine inside the compartment is so compact that there is no room to insert hands inside, not even for the headlights. We must therefore remove the plastic cover above the headlights and the bumper, the front grille that is attached to the bumper. If we wanted to change the turn signal bulb instead, the situation worsens, because the bulb is inside the bodywork so we will have to also remove the side panel: instead the low beam bulbs, at least on the right side, if you don't have too big hands, are accessible. The situation worsens on the left side, where it is necessary to remove the battery and the fuse box, or dismantle the entire front part, as for the right headlight.
Posted on 13 February 2025 by ScegliAuto
Related tutorials
Kia Picanto
(2004-2011 /
MK 1, 2A)
To replace the headlight bulb on a Kia Picanto, open the bonnet to access the engine bay and remove the circular plastic cover located at the back of…

Kia Picanto
(2004-2011 /
MK 1, 2A)
Today's instructions will show you how to dismantle and replace the headlight bulb on a Kia Picanto in simple steps. First, open the bonnet of the ve…

Kia Picanto
(2018-2026 /
MK 3, JA)
Finding yourself with a burnt out headlight bulb in your car is a moment, prolonged use over time eventually leads to this. As for replacing it, we c…
Other guides you may be interested in
|
Where to Find and How to Remove the Spare Wheel of a Peugeot 5008?
The spare wheel of a Peugeot 5008 is located under the rear of the vehicle. To remove it, you need to lift the third row of seats to access the fixing bolt that holds the spare wheel in position. Using the correct spanner, proceed to unscrew the fixing bolt until the wheel is no longer secured. At this point, you can extract the spare wheel from underneath the vehicle. Once you have completed this step, you are free to fit the spare wheel. Ensure you correctly remount the spare wheel and securely tighten the fixing bolt when you are finished. by ScegliAuto More videos
|
|
For advertising on this site Write to info@scegliauto.com
ScegliAuto is not responsible for any inaccuracy of the data in the lists. To report any inaccuracy or your business (if you own the business in question), please write to info@scegliauto.com
Number of seconds to generate the page: 0.273
(c) ScegliAuto 2026 - info@scegliauto.com - Privacy policy VAT number: IT01247470535 |
