
|
Do it yourself
| |||
| ||||


Guide to Disassembling and Reassembling the ARB Differential and Removing Half Shafts
Model: Land Rover Defender
MK 5
- Years 1983-1990
In the video, you can observe all the steps for installing the ARB differential on the Salisbury axle. It is recommended to use a shop lift for easier handling.
Start by lifting the axle and draining the differential oil. Remove the wheel and then use a 17 mm socket wrench to unscrew the bolts on the hub. Using a rubber mallet, separate the flange from the hub, which allows you to slide out the half shafts and free the differential. Repeat the same operation for the wheel on the opposite side. The video shows that you may find signs of twisting on the half shaft in the splined area and water infiltration, likely coming from the flange cap. To resolve the issue, reinforced half shafts and flanges will be installed. Now, free the differential from the cover by removing the corresponding bolts. Once opened, measure the pinion-to-ring gear backlash, which should be between 0.15 and 0.27 millimeters. The guide recommends marking the position of the differential bearing caps with a paint marker to avoid confusion when reassembling. Now remove the caps that hold the differential in place using a 19 mm wrench and carefully follow the video instructions for removing the differential from its housing. Now that the differential is disassembled, remove the bolts holding the ring gear and proceed with adjusting the bearing preload, a particularly delicate operation. The video shows an exploded view of the differential, its various components, measurements, and the distances that must be respected. Next, move on to mating the ring gear. First, it is necessary to heat it to 212°F in an oven for 15 minutes. As it expands, it will allow you to position it correctly. It is strongly advised against heating it with a flame, as this would damage it. Now you can tighten the bolts holding the ring gear to the flange and drill the differential housing after protecting it inside the housing with clean rags to prevent debris and chips from remaining inside. Now check the pinion-to-ring gear backlash, adjusting according to the values suggested in the video, then tighten the caps' bolts. Pass the copper tube through the hole you made earlier and secure it with the nuts provided in the ARB kit. Next, clean the mating surface, install a new gasket, and put in a new magnetic drain plug, which helps collect metal debris, then fill with oil. This guide is also very useful in case of differential failure or for any maintenance operation that requires disassembling the half shafts and/or the differential itself.
Updated on 1 February 2026 by ScegliAuto
Video tutorial
Related tutorials
Land Rover Defender
(1990-2016 /
MK 6)
This guide shows how to replace the diesel fuel pump on a Land Rover Defender TD5. The fuel pump is located in the rear compartment of the vehicle, b…
Land Rover Defender
(1983-1990 /
MK 5)
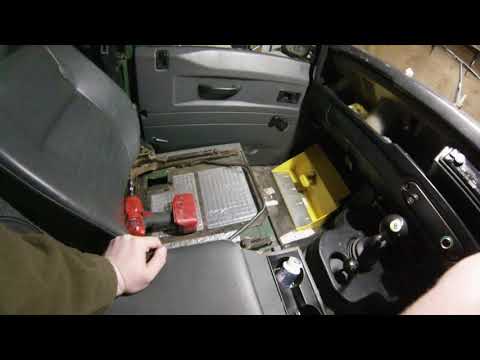
Let's look at removing the seat from a Land Rover Defender. Open the door and examine the removal of the front seat. Remove the seat cushion to acces…
Land Rover Defender
(1983-1990 /
MK 5)
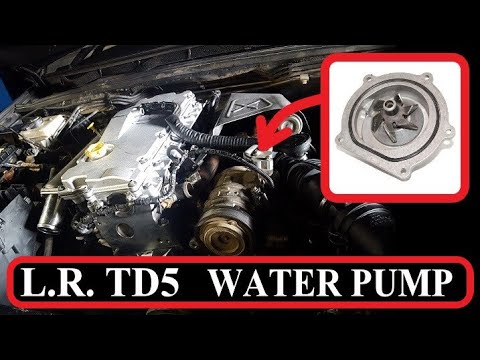
In today's video, you will see the instructions needed to remove and replace the water pump on the Land Rover Defender. First, open the hood of your …
Other guides you may be interested in
|
How to Open a Stuck Boot on the Peugeot 407?
On the Peugeot 407, the boot may become stuck, possibly due to a problem with the control button or the lock actuator. In such cases, you can perform an emergency opening by following the simple procedure shown in this tutorial. First, open the rear doors, then lower the seat back by operating the release lever. Next, go inside the boot, locate the lock, and manually operate it using a flathead screwdriver. The boot will then be free to open. by ScegliAuto More videos
|
|
For advertising on this site Write to info@scegliauto.com
ScegliAuto is not responsible for any inaccuracy of the data in the lists. To report any inaccuracy or your business (if you own the business in question), please write to info@scegliauto.com
Number of seconds to generate the page: 0.400
(c) ScegliAuto 2026 - info@scegliauto.com - Privacy policy VAT number: IT01247470535 |
