
|
Do it yourself
| |||
| ||||


How to Reset the Service Light on a Land Rover Freelander 2?
Model: Land Rover Freelander
Freelander 2
- Years 2006-2016
After servicing the vehicle, you will need to reset the service light. This video will guide you through the process. Press the Start button on the dashboard to turn on the instrument cluster, where you will see the service light illuminated. Using the Trip button on the lever to the left of the steering wheel, enter the menu and use the directional buttons on the steering wheel to scroll until you reach the Service option, then the Reset option. Now press the previous Trip button again to authorise the reset, and the instrument cluster will turn off. After a few seconds, turn the cluster back on and the job will be complete.
Updated on 22 June 2026 by ScegliAuto
Video tutorial
Related tutorials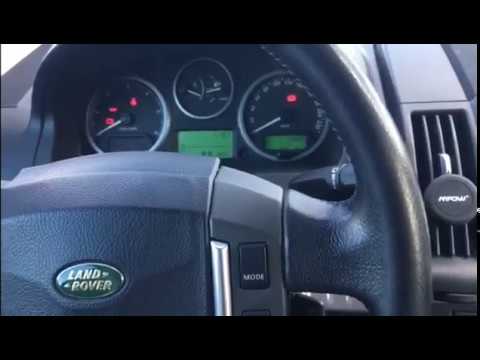
Land Rover Freelander
(2006-2016 /
Freelander 2)
To reset the service light on the Land Rover Freelander 2, press and hold the button located on the right side of the instrument cluster, just below …
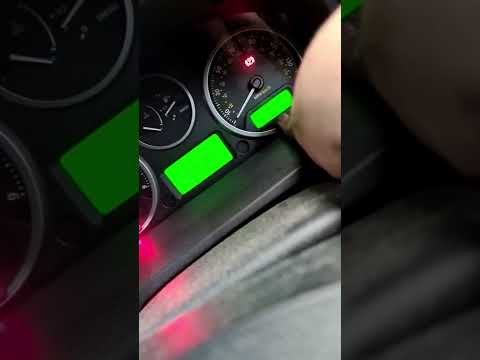
Land Rover Freelander
(2006-2016 /
Freelander 2)
To manually reset the service light that stays on the dashboard of your Land Rover Freelander Mk2, read the following guide and follow the steps desc…
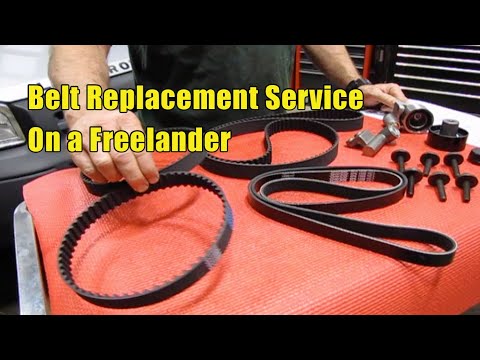
Land Rover Freelander
(1997-2006 /
Freelander 1)
Before you begin, open the front bonnet of your Land Rover Freelander. Start by unclipping and removing the auxiliary belt cover. This will also expo…
Other guides you may be interested in
|
How to change the time on a Toyota Yaris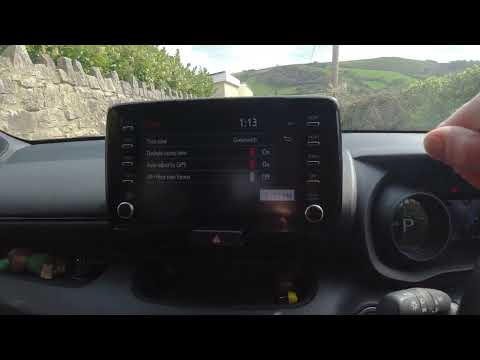
In this video we see how to change the time on a Toyota Yaris, specifically when it comes to switching from daylight saving time to standard time and vice versa. We go to the multifunction screen and press "settings": from there we go to press the clock, simply click on daylight saving time, and the clock will change the time for us, without doing anything else. All we want to do is just adjust the time format to 12 or 24 hours, as is customary in the area where we live: for example in Anglo-Saxon countries it is common to set the time to 12 hours, while in the European Union it is normally set to 24 hours. by ScegliAuto More videos
|

|
For advertising on this site Write to info@scegliauto.com
ScegliAuto is not responsible for any inaccuracy of the data in the lists. To report any inaccuracy or your business (if you own the business in question), please write to info@scegliauto.com
Number of seconds to generate the page: 0.290
(c) ScegliAuto 2026 - info@scegliauto.com - Privacy policy VAT number: IT01247470535 |
