
|
Do it yourself
| |||
| ||||


How to Fix a Car Radio That Won't Turn On
Model: Land Rover Discovery
L318, Discovery 2, MK 2
- Years:
1998, 1999, 2000, 2001, 2002, 2003, 2004
Video tutorial
Consult the owner's manual and check the numbers identifying the fuses related to the car radio that won't turn on. Open the hood and locate the fuse box, which is on the left side, near the passenger side. Check the diagram to see if the radio fuses are located here. If not found, locate them in the fuse box inside the car and check if they need to be replaced. It is located to the left/bottom of the steering wheel. Finally, check the fuse that is right behind the radio. To do this, insert the appropriate release tools into the slots to unlock the clips and, using a plastic lever, pull out the radio. Identify the fuse and replace it if necessary. Now, in most cases, you should have resolved the issue. The car shown in the maintenance operation in the images is a Land Rover Discovery.
Updated on 21 February 2026 by ScegliAuto
Related tutorials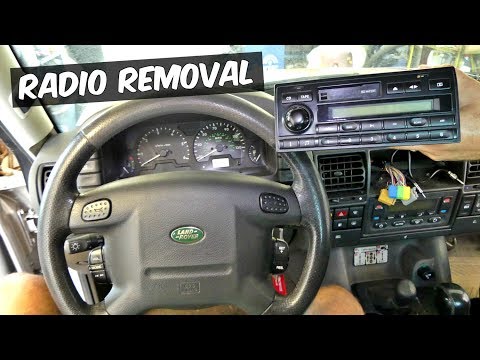
Land Rover Discovery
(2004-2010 /
LR3, L319, Discovery 3, MK 3)
Before proceeding with the removal of the factory car stereo, ensure you have the unlock code needed for reactivation. To extract the original stereo…
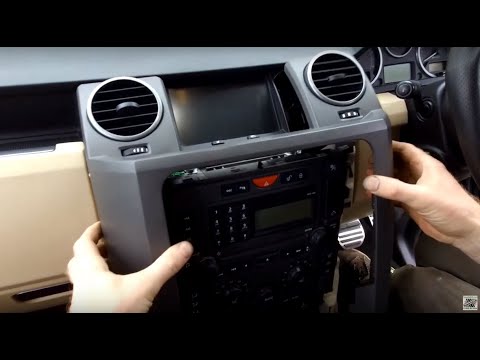
Land Rover Discovery
(2004-2010 /
LR3, L319, Discovery 3, MK 3)
Remove the radio trim by pulling it off by hand, starting from the bottom as shown in the video. It is integrated with the center air vents. This way…
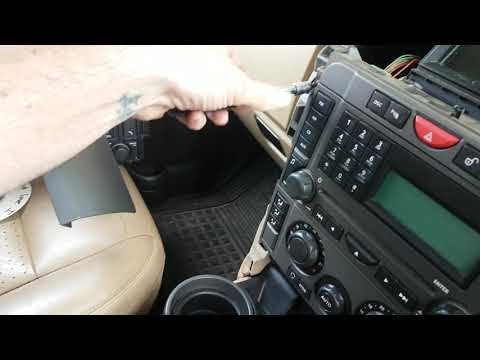
Land Rover Discovery
(2004-2010 /
LR3, L319, Discovery 3, MK 3)
Remove the two side plastic covers of the radio, attached to the air vents, by pulling them from the bottom, as shown in the video. Using a T20 Torx …
Other guides you may be interested in
|
How to Open the Bonnet on the Mitsubishi L200?
In this tutorial, you will see how to open the bonnet on the Mitsubishi L200, a very simple operation that follows the standard procedure. First, open the vehicle and go to the driver's side, then locate the lever at the lower outer area, just in front of the pedals, and pull it. Next, position yourself in front of the bonnet, locate the second lever above the Mitsubishi logo, and push it to the right, releasing the latch. At this point, you can fully lift the bonnet and secure it with the prop rod. by ScegliAuto More videos
|
|
For advertising on this site Write to info@scegliauto.com
ScegliAuto is not responsible for any inaccuracy of the data in the lists. To report any inaccuracy or your business (if you own the business in question), please write to info@scegliauto.com
Number of seconds to generate the page: 0.135
(c) ScegliAuto 2026 - info@scegliauto.com - Privacy policy VAT number: IT01247470535 |
