
|
Do it yourself
| |||
| ||||


How to Replace the Front Bumper
Model: Mazda 3
BK, MK 1
- Years:
2003, 2004, 2005, 2006, 2007, 2008, 2009
Video tutorial
Is your bumper dented, scratched, or even broken? Replacing it is much simpler than you might expect: the only tools you will need for this operation are a screwdriver and a socket wrench. The first step is to undo the screws holding the inner plastic support of the wheel arch to the bumper, on both sides. Then, using the socket wrench, remove the 10 mm bolts securing the bumper to the car body, located underneath the bodywork. Inside the previously removed plastic support of the wheel arch, there is another bolt: this also needs to be undone with a 10 mm socket. By opening the bonnet, you can access two more bolts holding the top of the bumper to the shell, alongside two plastic clips; the last two clips to remove are located inside the bumper, attached to the impact bar of the frame. At this point, the bumper is completely removed from the body, just take care to disconnect any wiring for the fog lights if the car is equipped with them.
Updated on 9 February 2026 by ScegliAuto
Related tutorials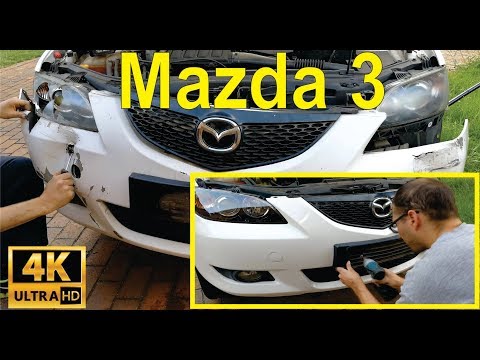
Mazda 3
(2003-2009 /
BK, MK 1)
Is the front bumper of your Mazda 3 damaged? Let's see how to remove it. Lift the bonnet and secure it, then raise the car on a jack; unscrew the fas…
Mazda 3
(2009-2013 /
BL, MK 2)
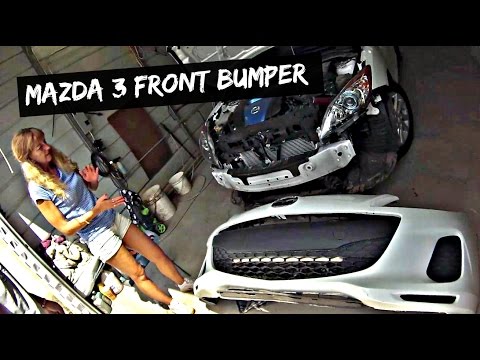
Want to remove the front bumper on a Mazda 3 to replace or repair it? This guide will show you how to proceed through the various stages of disassemb…

Mazda 3
(2009-2013 /
BL, MK 2)
In this tutorial, we can see how to remove the front bumper on the Mazda 3, an extremely simple and quick operation. First, we open the hood, then we…
Other guides you may be interested in
|
Location of the Jack and Spare Wheel of the Toyota Yaris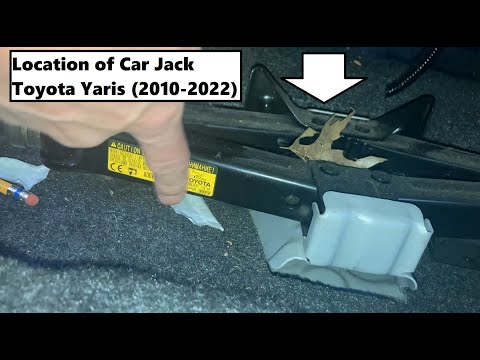
In the unfortunate event that one of the wheels of the Toyota Yaris is punctured, it is useful to know the location of the lifting jack, the spare wheel, the tool to operate the jack, and to unscrew the wheel bolts. The jack is located under the driver's seat, secured to a bracket and protected by a plastic cover, which you can remove by acting on the fixing clips. The spare wheel is located under the floor panel of the boot, secured to the floor by a threaded plastic flange, alongside which you will find the tool, consisting of a bent bar, which is used to operate the jack on one side and to remove the wheel on the other. by ScegliAuto More videos
|
|
For advertising on this site Write to info@scegliauto.com
ScegliAuto is not responsible for any inaccuracy of the data in the lists. To report any inaccuracy or your business (if you own the business in question), please write to info@scegliauto.com
Number of seconds to generate the page: 0.115
(c) ScegliAuto 2026 - info@scegliauto.com - Privacy policy VAT number: IT01247470535 |
