
|
Do it yourself
| |||
| ||||


Instructions for Replacing the Alternator
Model: Mazda 6
MK 1, GG
- Years 2002-2008
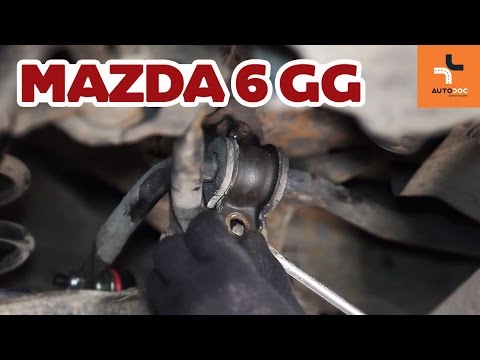
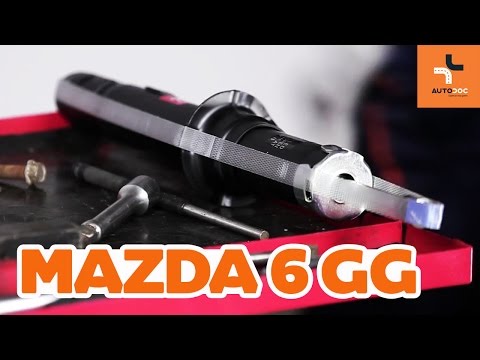
Before proceeding with the alternator removal, it is advisable to disconnect the battery terminals. The alternator is located at the rear left of the engine bay (when facing the front); to facilitate removal, lift the vehicle on a hydraulic lift, remove the right wheel and the wheel arch liner to more easily access the pulleys and disconnect the auxiliary belt by loosening the tensioner. Then remove the eyelet of the cable connected to the alternator; move on to the fastening bolts of the alternator itself and remove it from its seat, disconnecting the connector as well. Remove the protections to apply to the new alternator and reverse the process for installation; consider whether to also replace the auxiliary belt.
Updated on 11 February 2026 by ScegliAuto
Video tutorial
Related tutorials
Mazda 6
(2008-2012 /
GH, MK 2)
Today's guide will show us how to disassemble and replace the timing belt of the Mazda 6, following the instructions below. First, we open the engine…
Mazda 6
(2002-2008 /
MK 1, GG)
This guide explains how to change the bearings of your car without necessarily taking it to a mechanic. The bearings, specifically, are spherical and…
Mazda 6
(2002-2008 /
MK 1, GG)
Shock absorbers are responsible for slowing down the movements of the suspension. If the car has covered many miles, they need to be replaced. They c…
Other guides you may be interested in
|
How to Remove the Factory Radio on a Mercedes A-Class
How do you remove the factory radio on a Mercedes A-Class? Let's carefully go through the disassembly process. Use the original or aftermarket metal keys to remove the car stereo: Insert the keys into the holes on the plastic trim of the stereo, pull the stereo towards you as shown in the video, and carefully extract the radio while being mindful of the various wiring (disconnect the power connectors and the antenna cable). Finally, reinstall the original radio or a generic brand with the appropriate adapter for the input and connector. by ScegliAuto More videos
|
|
For advertising on this site Write to info@scegliauto.com
ScegliAuto is not responsible for any inaccuracy of the data in the lists. To report any inaccuracy or your business (if you own the business in question), please write to info@scegliauto.com
Number of seconds to generate the page: 0.095
(c) ScegliAuto 2026 - info@scegliauto.com - Privacy policy VAT number: IT01247470535 |