
|
Do it yourself
| |||
| ||||


How to replace the radiator on the Mazda Mx-5
Model: Mazda Mx 5
MK 3, NC
- Years 2005-2015
To replace the radiator on the Mazda MX5 you must first unscrew the two side bolts highlighted in the video; the radiator fan connector and the air conditioning connector are disconnected. Of course, first we have to empty the radiator, entering under the car and opening the lower cap of the radiator itself. Collect the liquid in a container, which you will then dispose of in an authorized center. It is not water. We move the clamp of the lower radiator hose so that it can be removed. We remove the upper tube of the radiator, always moving the clamp at the bottom of the tube. We also move the clamp attached to the thermostat so that we can move this tube and be able to work on it better. We disconnect the tube that goes to the expansion tank - which must be emptied - remove the bolts we saw at the beginning. Using a bit of force because it is still on some pins, pull it up. Put the radiator back into the engine compartment, making sure to center the two brackets on which it is to be placed. We connect the lower and upper pipes, remember the clamps we had moved, including that of the thermostat. We reconnect the tube that goes to the expansion clamp, Put the connectors and fixing bolts back in place. We close the bottom cap and fill with the antifreeze liquid.
Posted on 10 August 2022 by ScegliAuto
Video tutorial
Related tutorials
Mazda Mx 5
(1989-1997 /
MK 1)
We see in this video the main instructions to remove and replace the odometer cable on the Mazda MX-5, first series. First of all we get on board the…
Mazda Mx 5
(2015-2024 /
MK 4, ND)
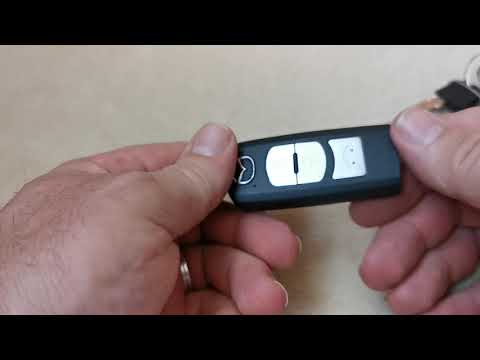
Let's see in today's video how to replace the remote control battery of a Mazda MX-5. This video is also suitable for other Mazda contemporary models…

Mazda Mx 5
(2015-2024 /
MK 4, ND)
If it is time to replace the engine air filter of your Mazda MX5 (year 2017), but you do not know how to do it, then all you need to do is carefully …
Other guides you may be interested in
|
Replacing the Timing Chain on a Toyota Yaris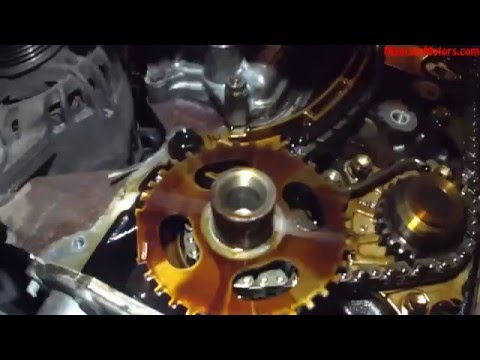
Replacing the timing chain on a Toyota Yaris. Lift the front bonnet and remove the engine cover. Remove the cover above the engine and disconnect all cables on the sides. Remove the plastic cover on the side of the engine. Use a spanner to loosen the chain tensioner roller and pull it out of its seat. Use a socket to unscrew the tensioner securing bolt. Tighten everything with the socket. Refit the engine covers and all chain covers. Test the car's operation. by ScegliAuto More videos
|

|
For advertising on this site Write to info@scegliauto.com
ScegliAuto is not responsible for any inaccuracy of the data in the lists. To report any inaccuracy or your business (if you own the business in question), please write to info@scegliauto.com
Number of seconds to generate the page: 0.053
(c) ScegliAuto 2026 - info@scegliauto.com - Privacy policy VAT number: IT01247470535 |