
|
Do it yourself
| |||
| ||||


Changing Engine Oil and Oil Filter
Model: Mercedes Classe C
W202
- Years:
1993, 1994, 1995, 1996, 1997, 1998, 1999, 2000
Video tutorial
Lift the vehicle and secure it with appropriate supports to prevent it from falling. The necessary tools are a ratchet wrench, a set of open-end wrenches, an oil cartridge, a drain pan, and a filter removal tool. Start by removing the protective cover of the oil pan by unscrewing the four bolts. Position the drain pan under the engine to collect the oil. Unscrew the oil cap on the oil pan and let it drain. Using a square wrench and the appropriate tool, unscrew the filter and remove the cartridge. Replace the used filter cartridge with a new one, but first clean the inside of the filter, then reinstall the filter. Also, replace the copper gasket of the oil cap and that of the filter. Close the oil cap, reinstall the oil filter, and refill with new oil, checking the level with the dipstick. Do not dispose of used oil in the environment; take it to designated collection centers.
Updated on 3 February 2026 by ScegliAuto
Related tutorials
Mercedes Classe C
(2007-2013 /
W204)
To change the engine oil in a Mercedes C-Class, lift the vehicle to access the components under the hood. Locate the oil drain plug, which must be op…

Mercedes Classe C
(2000-2007 /
W203)
To replace the engine oil in a Mercedes C-Class, start by placing the vehicle on a lift or a stable work surface. Open the hood and remove the plasti…
Mercedes Classe C
(2007-2013 /
W204)
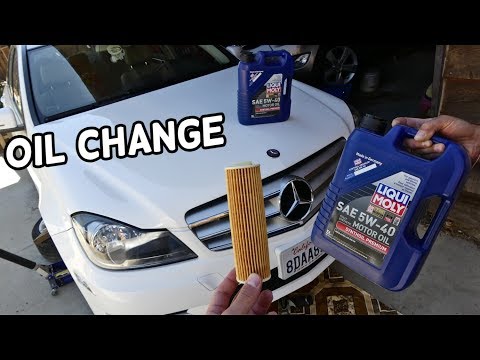
In this video, learn how to change the engine oil and the corresponding filter on a Mercedes C-Class. Lift the car using a column lift or jack and re…
ScegliAuto offers an extensive international collection of automotive tutorials available in 12 languages. Each guide combines instructional videos with original explanations written by experienced human editors, along with information about the car models covered.
Other guides you may be interested in
|
How to Reset the Tyre Pressure Warning Light in the Suzuki Swift?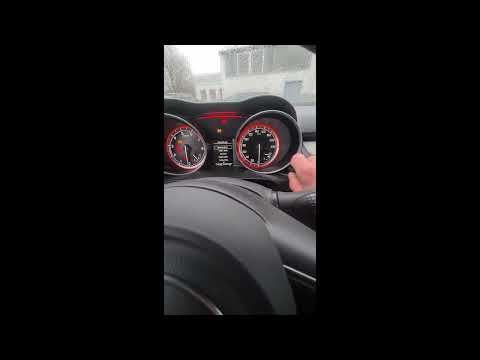
To reset the tyre pressure warning light in the Suzuki Swift, turn on the ignition, then navigate through the menu using the button located on the right side: this button should be rotated to locate the options displayed. You will need to select the option indicating tyre pressure and then select the "Reset" option: this way, the sensors will read the new tyre pressure values. If the tyres have been inflated to the correct pressure, the light will turn off automatically. by ScegliAuto More videos
|
|
For advertising on this site Write to info@scegliauto.com
ScegliAuto is not responsible for any inaccuracy of the data in the lists. To report any inaccuracy or your business (if you own the business in question), please write to info@scegliauto.com
Number of seconds to generate the page: 0.047
(c) ScegliAuto 2026 - info@scegliauto.com - Privacy policy - About us VAT number: IT01247470535 |
