
|
Do it yourself
| |||
| ||||


How to replace the rear brake discs on a Mini R50 R53
Model: Mini Mini
R53, R52, R50
- Years 2001-2007
In this video we can see how to replace the rear brake discs of a Mini R50/R53: we start by opening the brake fluid cap, then we lift the car and remove the rear wheels; we separate the brake pads, then unscrew the attachment and disconnect the retaining spring; we can remove the caliper, which we will tie to the body with a wire, without disconnecting it to avoid depressurizing the system. We remove the pads and clean the fixing elements with WD-40; we unscrew the caliper attachment and then unscrew the brake disc screws, which we can remove. We clean the hub and then treat the surface with copper grease; we can install the new brake disc, install the caliper support and then the brake pads. Now we have to reassemble the brake caliper and secure it. Using a brake cleaner, we remove the anti-corrosion grease from the new brake disc, and with WD-40 we treat the mounting seat of the brake caliper retaining spring. We put back the spring and without starting the engine we press the pedal several times, until we feel the right resistance. We treat the surface with which the disc contacts the wheel with copper grease. We put back the wheels and lower the car. Job done.
Posted on 21 April 2024 by ScegliAuto
Video tutorial
Related tutorials
Mini
(2001-2007 /
R53, R52, R50)
On the Mini Cooper R520, R52, and R53 versions, we have a warning light that indicates brake pad wear. It is certainly a very useful warning light, b…
Mini
(2001-2007 /
R53, R52, R50)
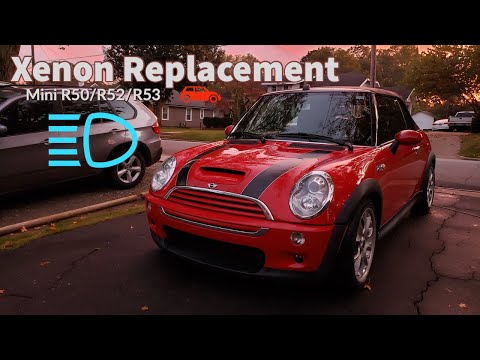
Replacing the front bulbs (in this tutorial, we will take the dipped beam as an example) on Mini R50, R52, and R53 is really simple, and now you will…
Mini
(2001-2007 /
R53, R52, R50)
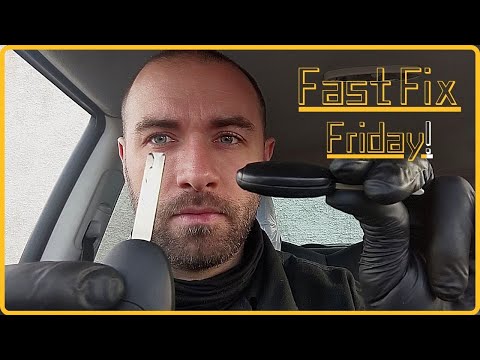
In this video tutorial, you will learn how to dismantle and replace the remote key battery on the Mini Cooper, models R50, R52, and R53. First, take …
Other guides you may be interested in
|
How to Replace the Remote Battery for the Volvo XC40?
In this tutorial, you will see how to replace the battery in the remote for the Volvo XC40, a very simple and quick operation. For this, you will need a replacement battery of type CR2032 and possibly a small flathead screwdriver. First, remove the front cover by pressing the button on the metal ring, then locate the second button, press it as well, and remove the opposite cover. Next, open the circular cap, take out the old battery, and insert the new one in the opposite direction. Finally, reassemble everything. by ScegliAuto More videos
|
|
For advertising on this site Write to info@scegliauto.com
ScegliAuto is not responsible for any inaccuracy of the data in the lists. To report any inaccuracy or your business (if you own the business in question), please write to info@scegliauto.com
Number of seconds to generate the page: 0.207
(c) ScegliAuto 2026 - info@scegliauto.com - Privacy policy VAT number: IT01247470535 |
