
|
Do it yourself
| |||
| ||||


How to clean the MAP sensor of the Nissan Qashqai
Model: Nissan Qashqai
J11
- Years 2014-2022
In this video we see how to clean the MAP sensor of a Nissan Qashqai: starting by removing the cover of the monoblock, and underneath we immediately find the absolute pressure sensor, next to the throttle body. It detects the pressure of the intake duct, and then the ECU manages the right amount of diesel to send to the injectors. Obviously, if the sensor is dirty, the detection will be wrong, and consequently also the information it sends to the ECU. It is a cleaning that is convenient to do together with the EGR cleaning, because it is right nearby. But now we will only focus on the sensor. We remove the electrical connector, then unscrew the fixing screw and remove it. We must clean it with a specific product, which leaves no residue, like WD-40 for contacts. We find it for 9.99 euros on Amazon with the code B00GTV24JE, free delivery for Prime customers. We let it dry well, grease the sides with a drop of oil and put it back in place: we put the bolt back on and then reattach the connector. Job done.
Posted on 13 June 2024 by ScegliAuto
Video tutorial
Related tutorials
Nissan Qashqai
(2014-2022 /
J11)
Let's see how to remove and replace the airflow meter (also known as MAF sensor) of a Nissan Qashqai: we remove the clamp of the tube that brings air…
Nissan Qashqai
(2014-2022 /
J11)
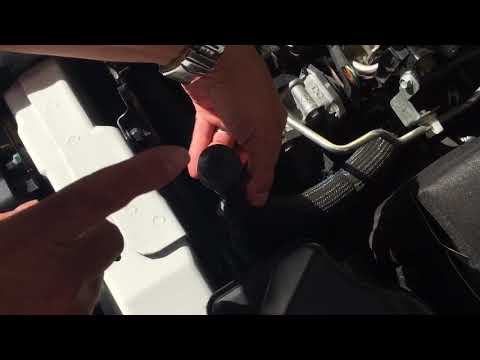
Learn how to remove the start and stop sensor on a Nissan Qashqai. Open the bonnet, lift it, and secure it. Use a screwdriver to unscrew the fastenin…
Nissan Qashqai
(2014-2022 /
J11)
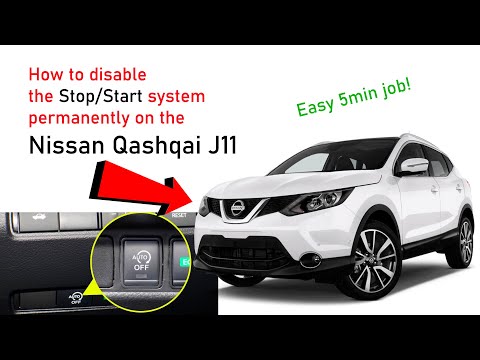
In this video, you will find instructions for permanently disabling the start&stop system on a second-generation Nissan Qashqai. First, open the bonn…
Other guides you may be interested in
|
How to Replace the Battery on a Honda Vision 110
To replace the battery on a Honda Vision 110, you need to remove the front fairing of the motorcycle, located directly under the front headlamp. To loosen this panel, unscrew the two screws found at its top, just below the handlebar. Once these screws are loosened, lever under the panel to detach it, gaining access to the battery underneath: this battery must be removed from its housing by unscrewing the fixing screws and disconnecting the power cables, replacing it with a new one. by ScegliAuto More videos
|

|
For advertising on this site Write to info@scegliauto.com
ScegliAuto is not responsible for any inaccuracy of the data in the lists. To report any inaccuracy or your business (if you own the business in question), please write to info@scegliauto.com
Number of seconds to generate the page: 0.125
(c) ScegliAuto 2026 - info@scegliauto.com - Privacy policy VAT number: IT01247470535 |
