
|
Do it yourself
| |||
| ||||


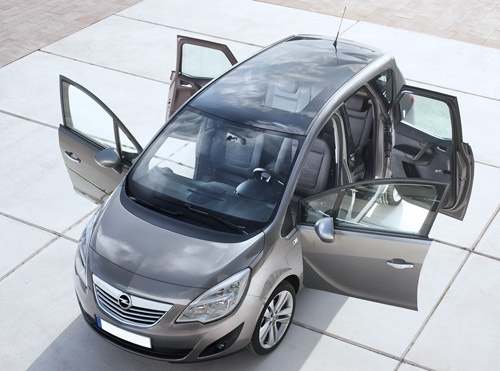
Common problems of the Opel Meriva B
Model: Vauxhall Meriva
Meriva B, MK 2
- Years:
2010, 2011, 2012, 2013, 2014, 2015, 2016, 2017
Video tutorial
In this video we see what are the most common problems if you want to buy a used Opel Meriva B: The naturally aspirated model had 100 hp and was only available with a 5-speed manual gearbox, while the turbo model had 120 and 140 hp with 6-speed or automatic gearbox: both started from a 1.4 engine. The Diesel version had a 1.3 MultiJet TDI or the 1.7 CDTi Isuzu engine, later replaced by the 1.6 95/110 and 136 hp. The company also offers a 120 hp LPG version. As for the diesel version, it had a power loss due to the EGR valves that tended to get dirty a lot, and poor communication between the control units, with fault code 68; In general, there are vibrations and noises during acceleration and at idle. Sometimes the flywheel needs to be replaced. There are problems with the clutch on the manual gearbox, and in some versions it was necessary to intervene on the central locking system. A critical point for all Opel cars in general is the exhaust system, and a poor resistance of the paint.
Posted on 20 December 2024 by ScegliAuto
Related tutorials
Vauxhall Meriva
(2010-2017 /
Meriva B, MK 2)
To easily locate the OBD port inside your second-generation Opel Meriva (2016), follow this guide. First, enter your Opel Meriva and use a flat screw…

Vauxhall Meriva
(2010-2017 /
Meriva B, MK 2)
The Opel Meriva, like many Opel vehicles, has a diagnostic port also known as the OBD port. Its use is essential for scanning the vehicle in a worksh…

Vauxhall Meriva
(2003-2010 /
Meriva A, MK 1)
When the service light on your Opel Meriva A remains on even after servicing the vehicle, you need to manually reset the light. First, get into the c…
Other guides you may be interested in
|
Frequently Asked QuestionsHow to Remove the Rear Seat of a Hyundai Tucson?
To remove the rear seat of a Hyundai Tucson, follow these steps. Start by moving the front seats to their most forward position to gain space. Next, locate the release lever on the underside of the rear seat, near the floor. Press this lever down while pulling the seat upwards to unlock it from the anchor pins. Once unlocked, tilt the seat upwards and forwards to remove it from its position. Repeat this process for both sides of the rear seat. Be careful of any electrical cables or components that may be connected to the seat during removal. Once the rear seat is removed, the disassembly is complete. by ScegliAuto More videos
|
|
For advertising on this site Write to info@scegliauto.com
ScegliAuto is not responsible for any inaccuracy of the data in the lists. To report any inaccuracy or your business (if you own the business in question), please write to info@scegliauto.com
Number of seconds to generate the page: 0.043
(c) ScegliAuto 2026 - info@scegliauto.com - Privacy policy VAT number: IT01247470535 |
