
|
Do it yourself
| |||
| ||||


Replacement of Rear Brake Pads
Model: Vauxhall Meriva
Meriva A, MK 1
- Years 2003-2010
Loosen the wheel nuts, lift the vehicle, and secure it. Open the brake fluid reservoir. Remove the wheel and gently take off the caliper by removing the two clips. Remove the caliper support bracket using a ratchet spanner by unscrewing the two rear screws and set it aside. Remove the old pads and realign the piston. Thoroughly clean the support with deoxidising spray and compressed air. Refit the bracket, cleaning and greasing the fixing screws, then tighten them using a torque wrench. Refit the caliper pads, paying attention to the direction of travel. Check the pads' adherence to the disc and refit the wheel.
Updated on 8 February 2026 by ScegliAuto
Video tutorial
Related tutorials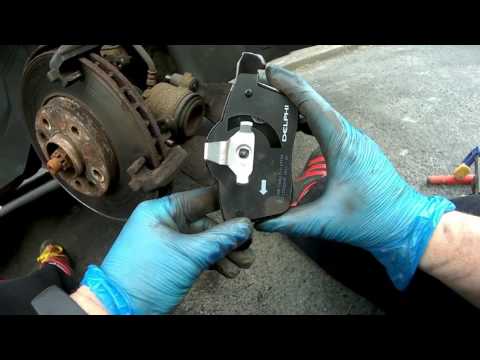
Vauxhall Meriva
(2010-2017 /
MK 2, Meriva B)
Want to remove the front brake pads on your Meriva? Here’s how to replace the brake pads. Lift the car on a column lift to the desired height, then r…
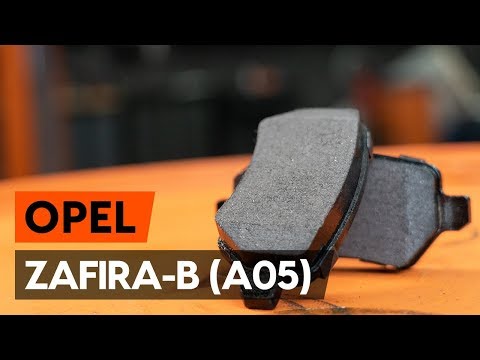
Vauxhall Meriva
(2003-2010 /
Meriva A, MK 1)
Today, you will learn how to remove and replace the brake pads on an Opel Meriva. First, lift the vehicle and remove the wheel bolts to take off the …
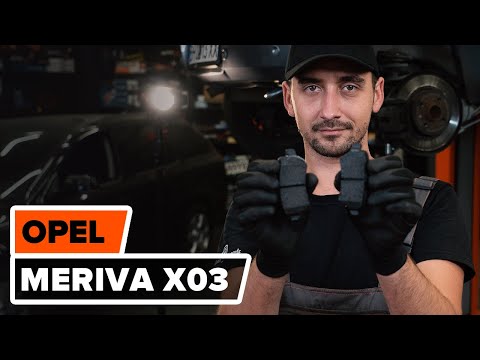
Vauxhall Meriva
(2003-2010 /
Meriva A, MK 1)
Before you can start, lift the rear of your Opel Meriva. Begin by unscrewing and removing the bolts securing the rear wheel, then remove the wheel it…
Other guides you may be interested in
|
How to Replace the Remote Battery for the Volvo XC40?
In this tutorial, you will see how to replace the battery in the remote for the Volvo XC40, a very simple and quick operation. For this, you will need a replacement battery of type CR2032 and possibly a small flathead screwdriver. First, remove the front cover by pressing the button on the metal ring, then locate the second button, press it as well, and remove the opposite cover. Next, open the circular cap, take out the old battery, and insert the new one in the opposite direction. Finally, reassemble everything. by ScegliAuto More videos
|
|
For advertising on this site Write to info@scegliauto.com
ScegliAuto is not responsible for any inaccuracy of the data in the lists. To report any inaccuracy or your business (if you own the business in question), please write to info@scegliauto.com
Number of seconds to generate the page: 0.074
(c) ScegliAuto 2026 - info@scegliauto.com - Privacy policy VAT number: IT01247470535 |
