
|
Do it yourself
| |||
| ||||


Vauxhall Meriva - Brake pads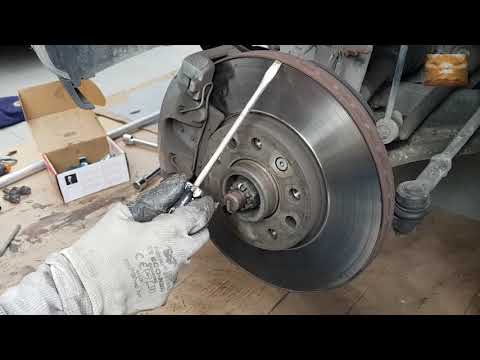 Vauxhall Meriva (2003-2010 / Merivaa, MK 1)
How to replace the front brake pads on an Opel Meriva. In this video tutorial, we can see how to replace the front brake pads on an Opel Meriva. The first thing we need to do is purchase new brake pads of good …read all… Posted on 9 July 2023 by ScegliAuto 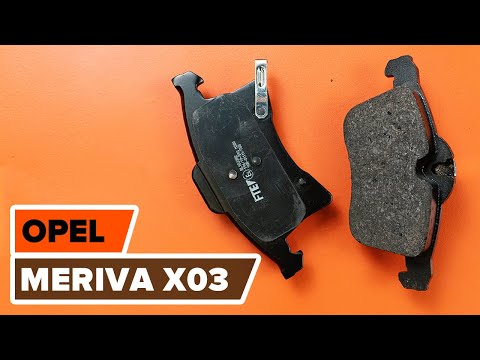 Vauxhall Meriva (2003-2010 / Merivaa, MK 1)
How to replace the front brake pads of the Opel Meriva A The guide shows how to replace the front brake pads of the Opel Meriva A. The first step is to open the brake fluid reservoir and remove the front wheels with …read all… Posted on 12 September 2022 by ScegliAuto 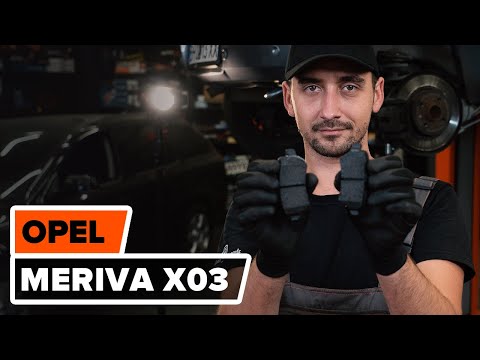 Vauxhall Meriva (2003-2010 / Merivaa, MK 1)
How to replace the rear brake pads of an Opel Meriva Before we are able to start, we will have to lift the rear end of our Opel Meriva. Let's start by unscrewing and removing the rear wheel fixing bolts, and then …read all… Posted on 26 February 2024 by ScegliAuto 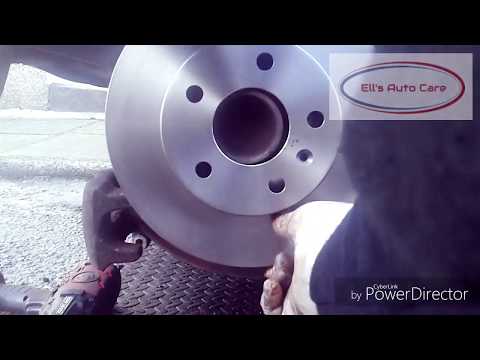 Vauxhall Meriva (2003-2010 / Merivaa, MK 1)
Replacement brake pads and discs Opel Meriva In today's video tutorial we will see how to remove and replace the brake pads and discs of a first series Opel Meriva. First we lift the car and remove the …read all… Posted on 5 February 2024 by ScegliAuto 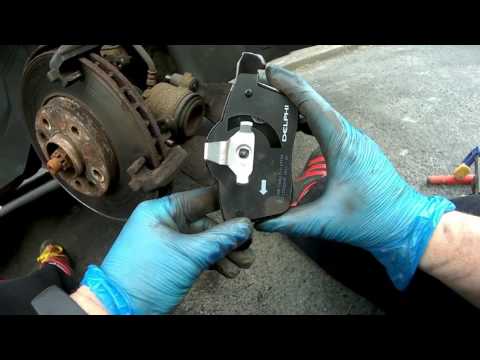 Vauxhall Meriva (2010-2017 / Merivab, MK 2)
Replacement front brake pads on Opel Meriva 1.4 Do we want to remove the front brake pads of our Meriva? Let's see the replacement of the brake pads. We lift the car on a column bridge to the desired height, …read all… Posted on 4 February 2024 by ScegliAuto  Vauxhall Meriva (2003-2010 / Merivaa, MK 1)
How to replace the front brake pads of our Opel Meriva Before starting, we will have to go to engage the handbrake and the first gear. So let's start by lifting the front of our Opel Meriva. Once this is done, we …read all… Posted on 12 January 2024 by ScegliAuto 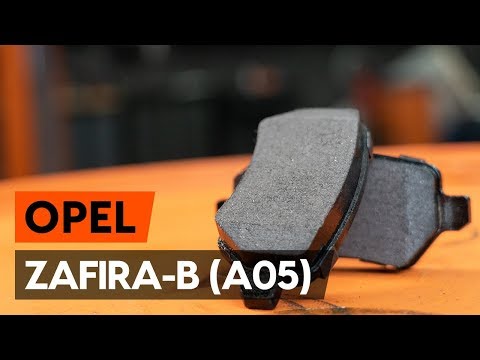 Vauxhall Meriva (2003-2010 / Merivaa, MK 1)
Opel Meriva rear brake pads replacement Today we will see, in this video tutorial, how to remove and replace the brake pads of an Opel Meriva. First of all we lift the car and remove the wheel bolts …read all… Posted on 30 December 2023 by ScegliAuto 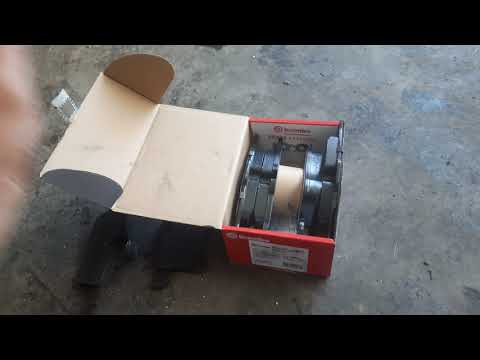 Vauxhall Meriva (2003-2010 / Merivaa, MK 1)
Removing the front pads on Opel Meriva We see the disassembly of the front disc brake pads on an Opel Meriva. We raise the car on a column point (jack) to the desired height, immediately after we go …read all… Posted on 27 November 2023 by ScegliAuto 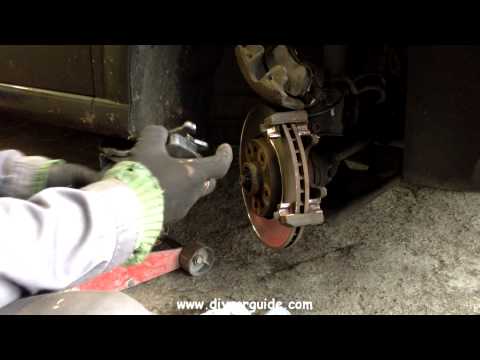 Vauxhall Meriva (2003-2010 / Merivaa, MK 1)
Replacement of front brake pads Raise the car on suitable car stands and remove the front wheel. Before unscrewing the fixing pins of the brake calliper, pry between the pads so as to …read all… Posted on 26 July 2023 by ScegliAuto 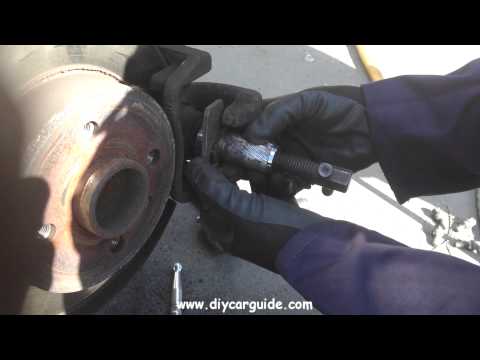 Vauxhall Meriva (2003-2010 / Merivaa, MK 1)
Replacement of rear brake pads Loosen the wheel nuts, lift the car and secure it. Open the brake fluid reservoir. Disassemble the wheel and carefully disassemble the caliper by removing the …read all… Posted on 20 July 2023 by ScegliAuto Airbags (1) Alternator (5) Antenna (2) Car stereo (6) Battery (5) Spark plugs (4) Glow plugs (1) Bodywork (1) Control unit (1) Key (14) Timing belt (9) V-belt (4) -board computer (5) Checks and maintenance (46) Gearshift gaiter (2) Brake discs (1) Headlight (3) Tail light (1) Fog lights (1) Air filter (6) Cabin air filter (16) Petrol filter (1) Diesel filter (5) Oil filter (1) Hand brake (1) Clutch (4) Side turn signal light bulb (2) Headlight bulb (19) Rear light bulb (4) License plate light (2) Handle (2) Window motor (1) Starter motor (3) Engine oil (1) Door panel (9) Front bumper (5) Rear bumper (2) Brake pads (10) Hydraulic pistons (2) Gear Shift Knob (1) Pump (4) Fuel pump (2) Push button (3) Instrument cluster (9) Radiator (2) Fuse box (23) Seat (2) Parking sensors (1) Lock (1) Lambda sensor (1) Outside rearview mirror (8) Windscreen wipers (2) Thermostat (1) Valve (1) Side window (2) Steering wheel (2) |
How do you adjust the clutch cable on the Kia Picanto?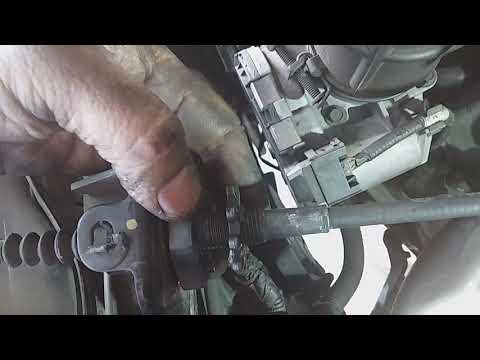
To be able to adjust the clutch cable of the Kia Picanto you need to open the hood so that you have access to the components inside the engine compartment: in order to reach the cable you will need to remove some components on the right side, such as the battery and the air filter. Below them you will find the clutch cable, which will have to be adjusted by screwing or loosening the bolt placed at the end of the cable. This will make the pedal harder or softer; after the adjustment, it will be possible to assemble all the components by closing the hood. by ScegliAuto More videos
|
|
For advertising on this site Write to info@scegliauto.com
ScegliAuto is not responsible for any inaccuracy of the data in the lists. To report any inaccuracy or your business (if you own the business in question), please write to info@scegliauto.com
Number of seconds to generate the page: 0.008
(c) ScegliAuto 2024 - info@scegliauto.com - Privacy Policy VAT number: IT01247470535 |