
|
Do it yourself
| |||
| ||||


Replacing the Number Plate Light and Checking Bulb Holder Contacts
Model: Peugeot 406
MK 1
- Years:
1995, 1996, 1997, 1998, 1999, 2000, 2001, 2002, 2003, 2004, 2005
Video tutorial
First, switch on the light switch and check if one or more of the number plate lights are functioning. If you need to replace them, gently pry off the transparent plastic of the number plate light with a thin screwdriver. Insert the new bulb and repeat the same operation if necessary on the other light. If the light does not work, check the fuse box under the dashboard by opening it with the help of a coin. If the fuses are intact, refer to a wiring diagram to understand where the wires for the number plate lights are connected. In this specific case, they are connected to the left rear light. If everything is in order here but the light remains off or lights up when you touch the bulb, switch off the lights (to avoid short circuits) and try to gently tighten the bulb holder with tweezers or small scissors. Now reassemble the transparent plastics by inserting them into their seat, first on one side and then pressing on the other side until the plastic tab clicks into place.
Updated on 9 February 2026 by ScegliAuto
Related tutorials
Peugeot 406
(1995-2005 /
MK 1)
The brake pedal switch is located just above the brake lever. To access it, remove the plastic cover directly above the pedal assembly, disconnect th…
Peugeot 406
(1995-2005 /
MK 1)
If the car key circuit still does not work after replacing the battery, the problem may be worn or dirty contacts inside the device. These contacts a…
Peugeot 406
(1995-2005 /
MK 1)
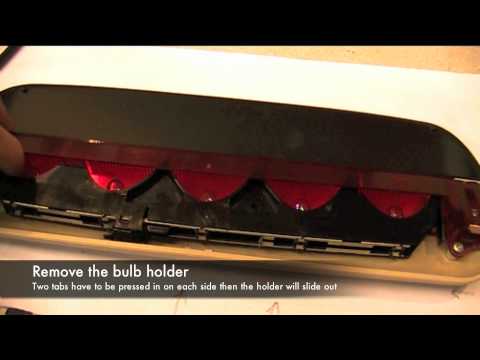
To access the third brake light located at the centre of the heated rear window, remove it along with its cover: simply press the two clips on the si…
Other guides you may be interested in
|
How to Remove the Rear Seat of a Hyundai Tucson?
To remove the rear seat of a Hyundai Tucson, follow these steps. Start by moving the front seats to their most forward position to gain space. Next, locate the release lever on the underside of the rear seat, near the floor. Press this lever down while pulling the seat upwards to unlock it from the anchor pins. Once unlocked, tilt the seat upwards and forwards to remove it from its position. Repeat this process for both sides of the rear seat. Be careful of any electrical cables or components that may be connected to the seat during removal. Once the rear seat is removed, the disassembly is complete. by ScegliAuto More videos
|
|
For advertising on this site Write to info@scegliauto.com
ScegliAuto is not responsible for any inaccuracy of the data in the lists. To report any inaccuracy or your business (if you own the business in question), please write to info@scegliauto.com
Number of seconds to generate the page: 0.107
(c) ScegliAuto 2026 - info@scegliauto.com - Privacy policy VAT number: IT01247470535 |
