
|
Do it yourself
| |||
| ||||


How to Remove the Entire Dashboard
Model: Peugeot 406
MK 1
- Years 1995-2005
This video illustrates the lengthy procedure for removing the dashboard of a Peugeot 406. For the CENTRE CONSOLE, remove the two 10 mm screws located beside the glove compartment near the handbrake lever. Take out the ashtray and lift the gear lever gaiter. Unscrew the two 10 mm Torx screws situated at the upper sides of the centre console. Cut the tie wrap securing the gear lever gaiter to unscrew the knob and remove the gaiter itself. Detach the side panel of the console and remove the airbag deactivation button. Remove the seal located in front of the handbrake lever. Lift the centre console but remember to disconnect the electrical connection. Now, let's move on to the STEERING COLUMN PART I: unscrew the two Torx screws that secure the cover; remove the lower cover, disconnect the cables, and unscrew the radio control plate. Lift and remove the upper part of the cover as well. Cut any ties that hold the wiring. Unscrew the immobiliser screw and the two Torx screws that secure the wiper bar and detach it by disconnecting the connection. Insert the key into the lock and turn it (check that the battery is disconnected first). By pressing the button above the lock, turn the key counterclockwise and remove the barrel, disconnecting all its connections. INSTRUMENT PANEL: remove the three Torx screws located above the dashboard; take out the three small air grilles. Now lift and remove the entire panel: you will reveal two Torx screws that secure the instrument cluster. Unscrew them, remove the cluster, and disconnect the connections at the back. You can now also remove the cover located just behind the steering wheel. DRIVER'S SIDE DASHBOARD: unscrew all the screws of the fuse box panel and remove it. Unscrew the 10 mm nuts that secure the fuse box. Remove the upper panel and unscrew the screws located behind the panel: locate the other side screws and proceed to remove them as well. Now the entire panel can be pulled out. PASSENGER SIDE GLOVE COMPARTMENT: open the flap and remove any objects. Close it, locate and pull out the two pins located under the flap, open it again and remove it. Remove the two Torx screws of the two stops and unscrew the other screws. Take off the side panel and the screws it covers. Disconnect the internal light connection. Remove the seal of the door near the edge of the panel: locate the last screw and unscrew it. Now you can pull out the back part of the glove compartment. REMOVAL OF OTHER DASHBOARD PARTS: to remove the multifunction display located in the centre, pull out the two corner seals and unscrew the four screws, lift the display and disconnect its electrical connection. Remove the radio front panel using special extraction keys to insert into the side holes. Disconnect its wiring. Remove the climate control unit which is secured by two screws located on its lower edge. As with the radio unit, extract it and disconnect its electrical connection. Remove the hazard light switch using the same method. Remove the air grille and the tweeter (disconnect the latter's connection). Repeat the same operation on the other side of the vehicle. Dismantle the temperature control sensor. Remove the side support bar near the steering column: remove its two securing nuts and pull out the bar. STEERING COLUMN PART II: position the steering wheel so that it is straight. Mark the point where the steering column aligns with the rack. Using a 13 mm socket, remove the tightening bolt and the upper bolts of the column. Slowly extract the column and disconnect all its electrical connections. BULKHEAD BOLTS: remove the bolts and clips located along the bulkhead. Unscrew the screws located in the footwell area: they support the lower part of the ventilation unit. Unscrew the two bolts, one on each side, of the dashboard and remove it. Extract the plastic clips. REMOVAL OF THE ENTIRE DASHBOARD: pull the entire dashboard towards you with your hands; taking care not to forget to disconnect any contacts. Remove the entire dashboard from the car!
Updated on 9 February 2026 by ScegliAuto
Video tutorial
Related tutorials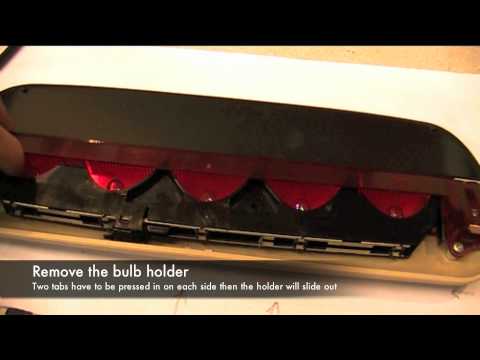
Peugeot 406
(1995-2005 /
MK 1)
To access the third brake light located at the centre of the heated rear window, remove it along with its cover: simply press the two clips on the si…

Peugeot 406
(1995-2005 /
MK 1)
In this tutorial we can see how to reset the service in the Peugeot 406, an extremely simple and quick operation, to be carried out only once all sch…
Peugeot 406
(1995-2005 /
MK 1)
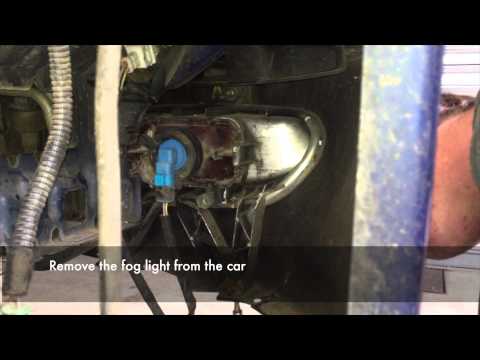
Lift the vehicle with a jack, remove the front wheels, and unscrew all the bolts. The anchor points are distributed around the bumper, underneath the…
Other guides you may be interested in
|
How to Open a Stuck Boot on the Peugeot 407?
On the Peugeot 407, the boot may become stuck, possibly due to a problem with the control button or the lock actuator. In such cases, you can perform an emergency opening by following the simple procedure shown in this tutorial. First, open the rear doors, then lower the seat back by operating the release lever. Next, go inside the boot, locate the lock, and manually operate it using a flathead screwdriver. The boot will then be free to open. by ScegliAuto More videos
|
|
For advertising on this site Write to info@scegliauto.com
ScegliAuto is not responsible for any inaccuracy of the data in the lists. To report any inaccuracy or your business (if you own the business in question), please write to info@scegliauto.com
Number of seconds to generate the page: 0.858
(c) ScegliAuto 2026 - info@scegliauto.com - Privacy policy VAT number: IT01247470535 |
