
|
Do it yourself
| |||
| ||||


How to clean the PCV valve on a Renault Twingo 3 16 Valves.
Model: Renault Twingo
Twingo 3, Twingo III
- Years 2014-2024
We find the PCV valve in the engine of a Renault Twincgo 3 16V, which is located under the engine cover and is connected to two hoses: one goes to the air filter, while the other goes down under the intake manifold. The appearance of the valve is that of a small black plastic body with two hose connections. It is often mounted on the valve cover. To remove it, we disconnect the two hoses, push the clamps, and gently pull: we extract the valve from its seat. The symptoms of a faulty PCV valve are traditionally loss of vehicle power, excessive engine oil consumption, and white/blue smoke from the exhaust. If the valve is stuck open, it creates a lost vacuum in the manifold, leading to a loss of power. If it is stuck closed, combustion gases push oil into the engine, which gets burned, causing oil consumption and a lot of smoke. The valve can be cleaned, as suggested in the video, with a cloth, a screwdriver, and a degreaser. We should also clean the hoses well.
Posted on 2 December 2025 by ScegliAuto
Video tutorial
Related tutorials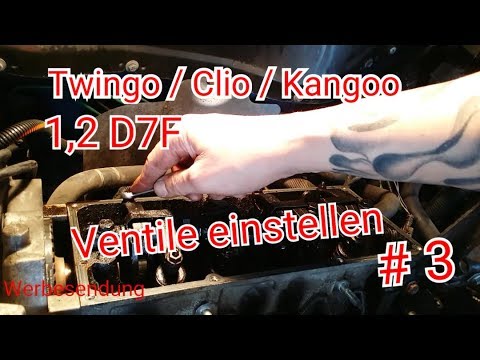
Renault Twingo
(2014-2024 /
Twingo 3, Twingo III)
To adjust the valves on a Renault Twingo, open the bonnet to access the components in the engine bay: here you can loosen the screws securing the val…

Renault Twingo
(1993-2007 /
Twingo 1)
In today's video, you will learn how to correctly adjust the valve clearance on a Renault Twingo 1.2 16 valve, with a D4F702 engine; this procedure a…
Renault Twingo
(2007-2014 /
Twingo 2)
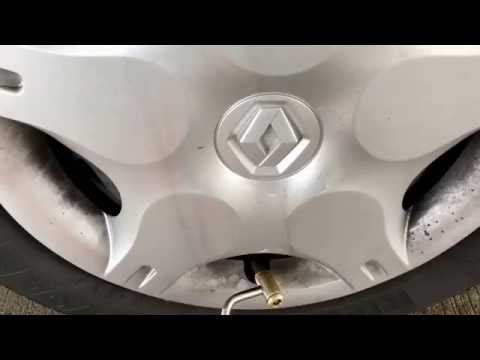
In this video, you will see how to check the tyre pressure on a Renault Twingo II: first, check the reference pressure from the sticker located on th…
Other guides you may be interested in
|
How to Open a Stuck Boot on the Peugeot 407?
On the Peugeot 407, the boot may become stuck, possibly due to a problem with the control button or the lock actuator. In such cases, you can perform an emergency opening by following the simple procedure shown in this tutorial. First, open the rear doors, then lower the seat back by operating the release lever. Next, go inside the boot, locate the lock, and manually operate it using a flathead screwdriver. The boot will then be free to open. by ScegliAuto More videos
|

|
For advertising on this site Write to info@scegliauto.com
ScegliAuto is not responsible for any inaccuracy of the data in the lists. To report any inaccuracy or your business (if you own the business in question), please write to info@scegliauto.com
Number of seconds to generate the page: 0.657
(c) ScegliAuto 2026 - info@scegliauto.com - Privacy policy VAT number: IT01247470535 |
